- Please check the CC distribution to contribute your share of the necessary CC!
- Please also read through the fractal pages for general encounter information!
This guide is currently a work in progress. The information shown here is correct and POVs for each boss are planned to be added at a later date!
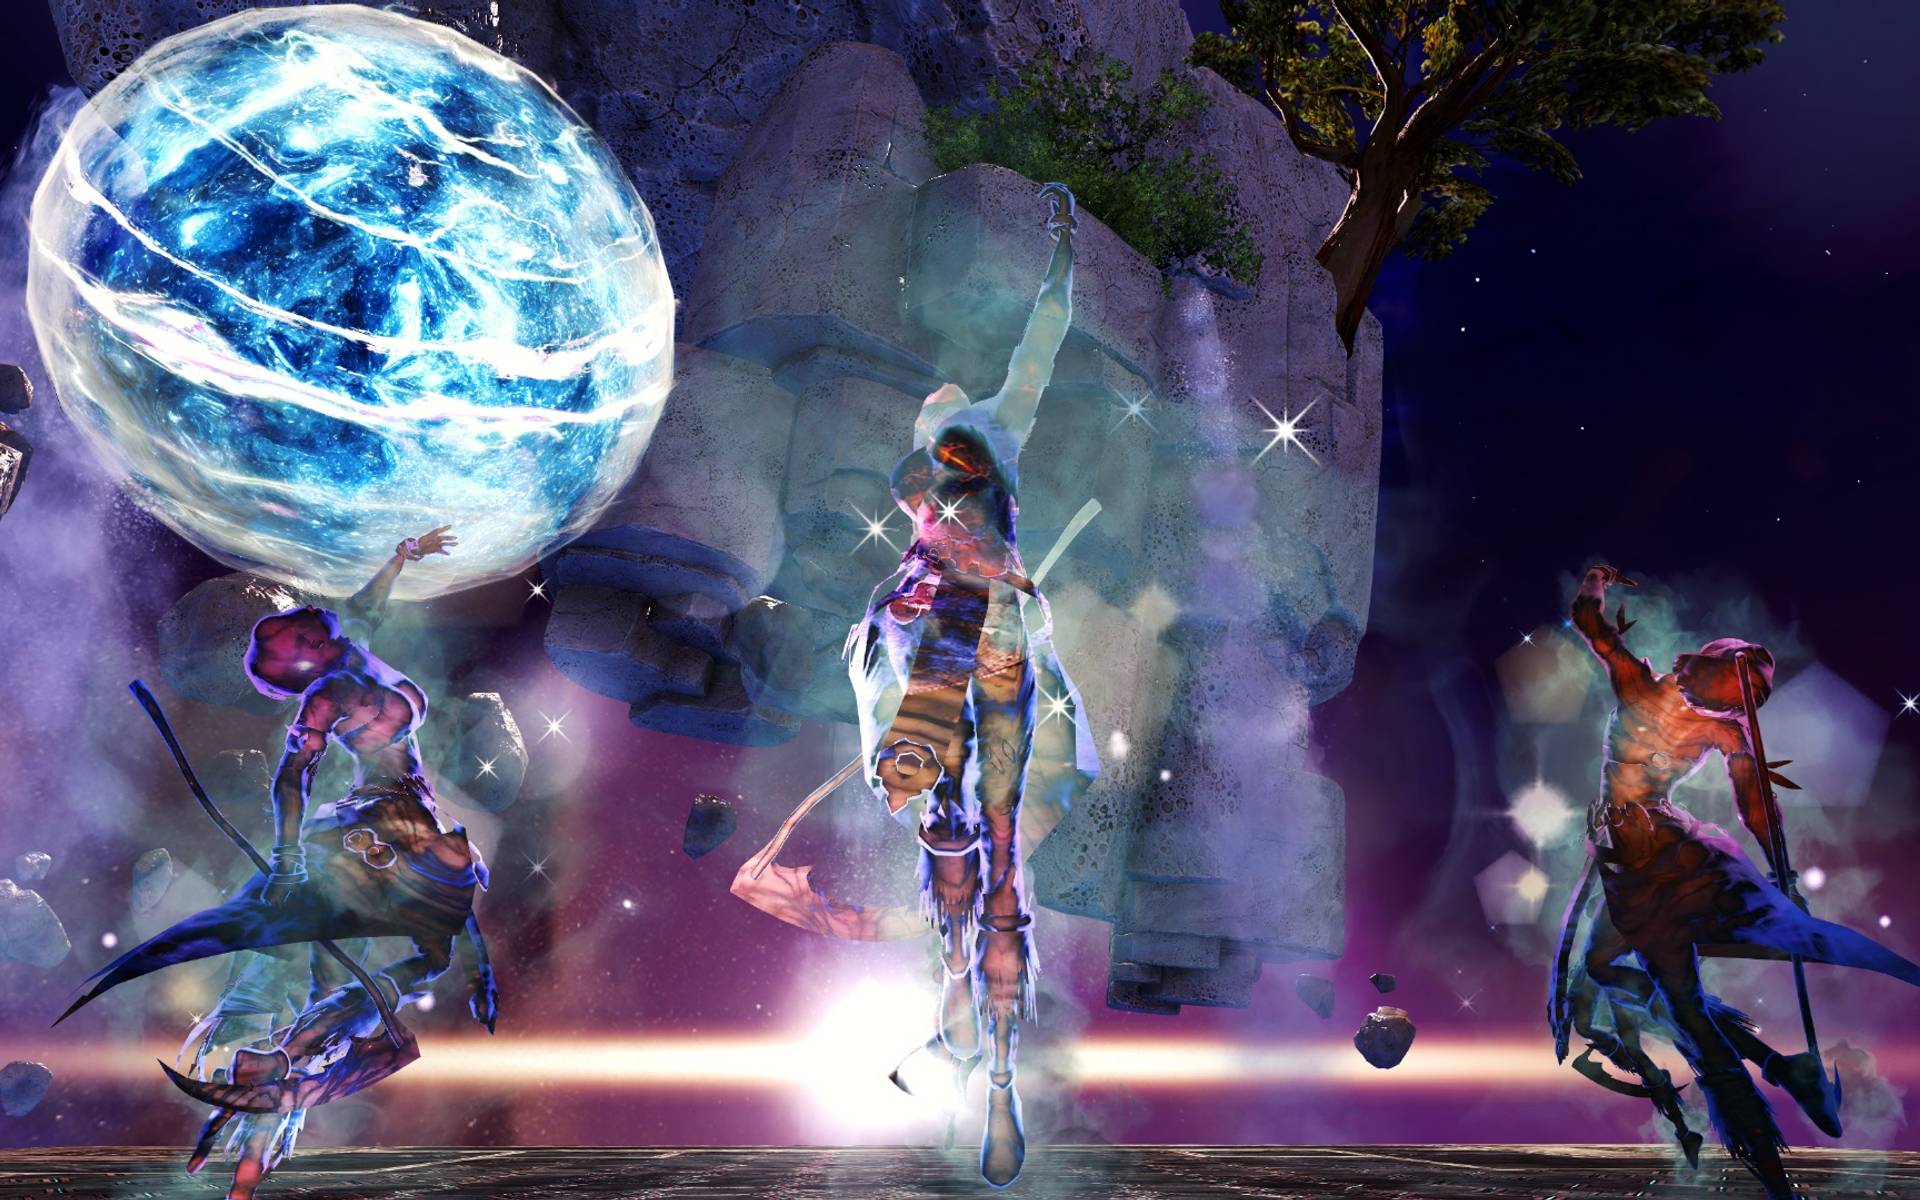
MAMA 5,200,519 HP
DPS Statistics by gw2wingman
Weapons
- Berserker2x
- Berserker1x
- Berserker1x
Skills
Heal
Utilities
Elite
Notes
- Pet: Rock Gazelle for at every Knight.
- Take .
- Play with and .
- Use in a boss phase where your group lacks damage.
Skill usage
Precast
Use once at the Mistlock Singularity, as it should be used in a boss phase where your group lacks damage.
Tips
- is a source of Aegis you can precast for your party.
Ideal Rotation
Phase 1 (100%-75%)
Precast your towards Knight 1.
Be careful to not hit the invisible hitbox, otherwise you will get in combat early.
Swap to your Hammer set and place down right before MAMA becomes vulnerable.
Follow up with high priority Hammer skills, swap weapons and finish the phase on Sword/Axe.
Tips
- If you precast at Knight 1, skip it in phase 1 and instead drop it while moving away a bit after the phase has ended. MAMA will trigger it when teleporting at the start of Nightmare Devastation (bubble).
Ideal Rotation
Knight 1
Move to the Knight with and immediately transition into .
Ideal Rotation
Phase 2 (75%-50%)
Leap back to MAMA with , then use Sword/Axe skills.
Fill with auto attacks in case your weapon swap is not up yet.
Swap to Hammer, use , and finish the phase with auto attacks.
Ideal Rotation
Knight 2
Move to the Knight with .
Help with Vulnerability using , then kill the Knight with and auto attacks if needed.
Ideal Rotation
Phase 3 (50%-25%)
Use to move to MAMA and trigger .
Burst with and (if available) into high priority Hammer skills.
Swap weapons and finish the phase on Sword/Axe.
Ideal Rotation
Knight 3
Move to the Knight with and immediately transition into .
Ideal Rotation
Phase 4 (25%-0%)
Open with Sword/Axe skills.
Swap weapons to Hammer and finish the phase with all Hammer skills and auto attacks if neccessary.
Tips
- can be timed to evade attacks from MAMA or damage from the pulsing poison field.
Ideal Rotation
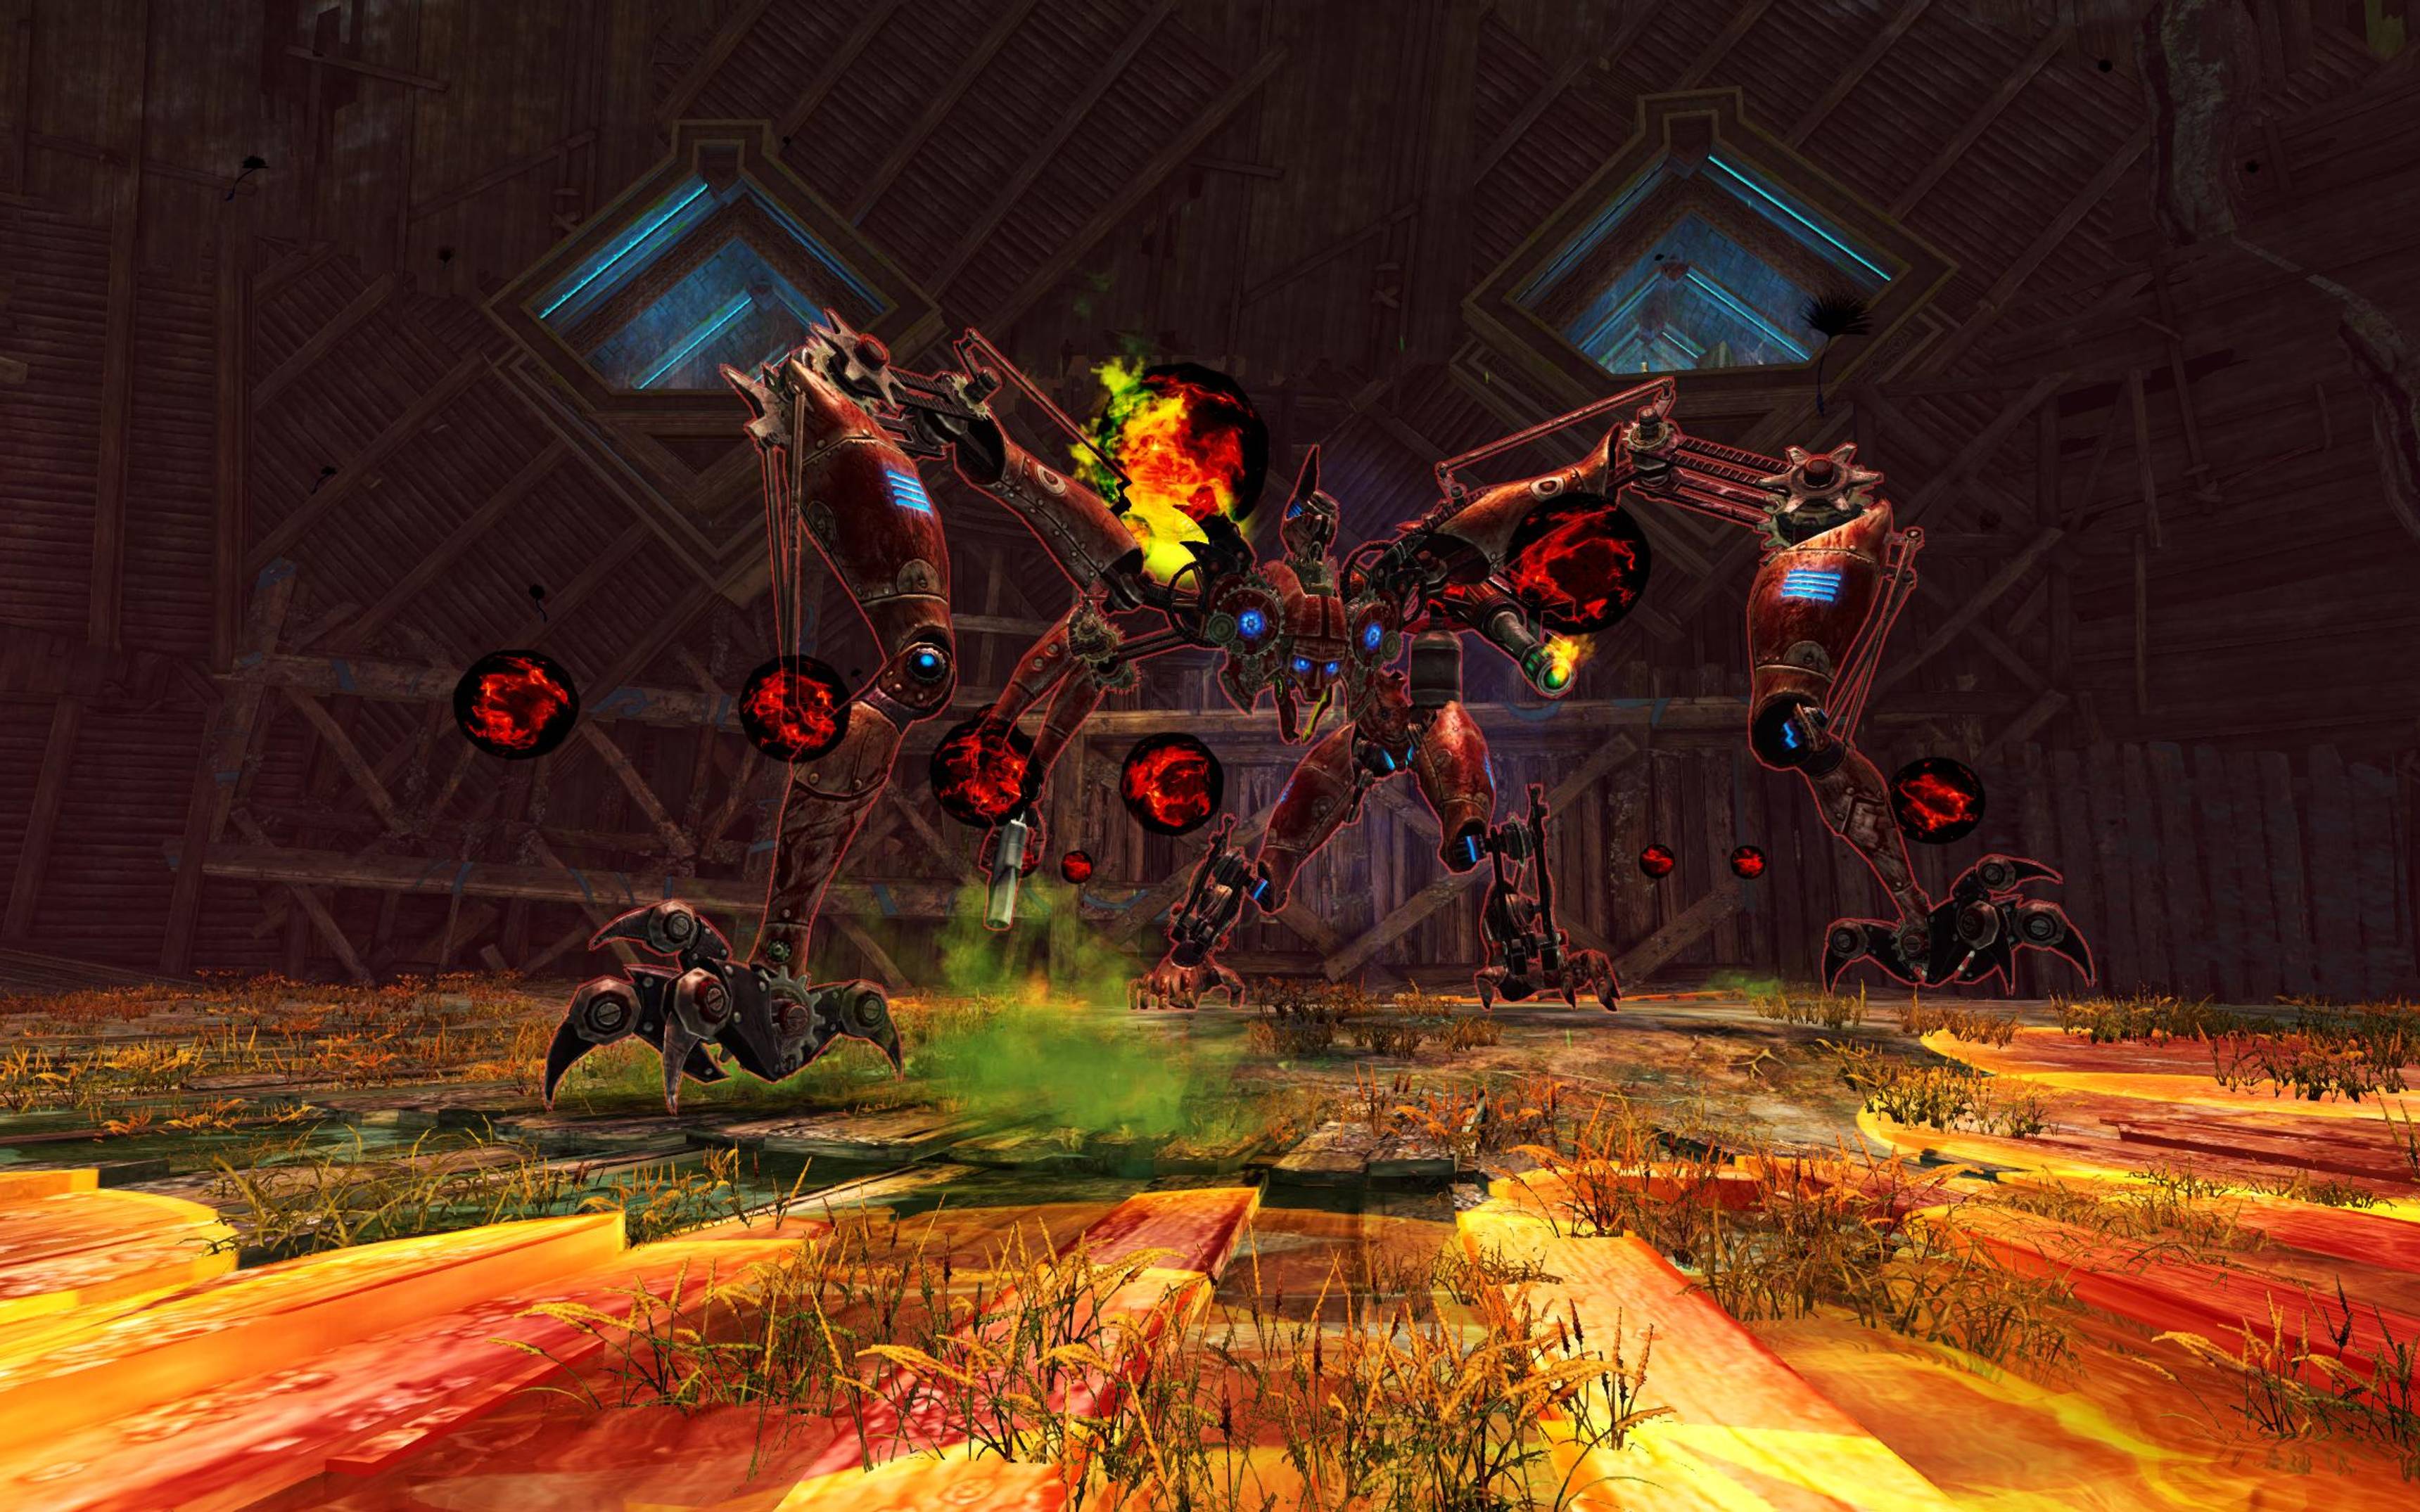
SIAX 6,138,797 HP
DPS Statistics by gw2wingman
Weapons
- Berserker2x
- Berserker1x
- Berserker1x
Skills
Heal
Utilities
Elite
Notes
- Pet: Red Moa for Vulnerability and .
- Take .
- Play with and .
- Remember to use for this encounter!
- Try to ensure and every phase.
Skill usage
Precast
Use once at the Mistlock Singularity, as the cooldown needs to be up for phase 2.
Ideal Rotation
Phase 1 (100%-66%)
Place as soon as you get in combat and follow up with the next skill immediately.
Ensure and , then burst with high priority Hammer skills.
Swap weapons and finish the phase on Axe/Axe.
Make sure to save for phase 2.
Tips
- Precasting and allows for instant and .
Ideal Rotation
Split 1
Use available Axe skills, and auto attacks until your assigned Echo is dead.
Tips
- With Mistlock Instability: Outflanked try to flank the Echo.
Ideal Rotation
Phase 2 (66%-33%)
You want to use and to make up for your lack of burst in this phase.
Use all available skills on Axe, then swap weapons and finish the phase on Hammer.
Ideal Rotation
Split 2
All of your attacks in this split are melee, so make sure to move towards your assigned Echo as soon as possible.
Use for Vulnerability and to refresh .
Tips
- With Mistlock Instability: Outflanked try to flank the Echo.
- You can place your at the boss. This allows you to use to get to the Echo quickly. Open it while attacking the Echo and take it once it is dead.
Ideal Rotation
Phase 3 (33%-0%)
Move back to Siax quickly using .
and burst with into high priority Hammer skills.
Swap to Axe/Axe and use everything until Siax is dead.
Ideal Rotation
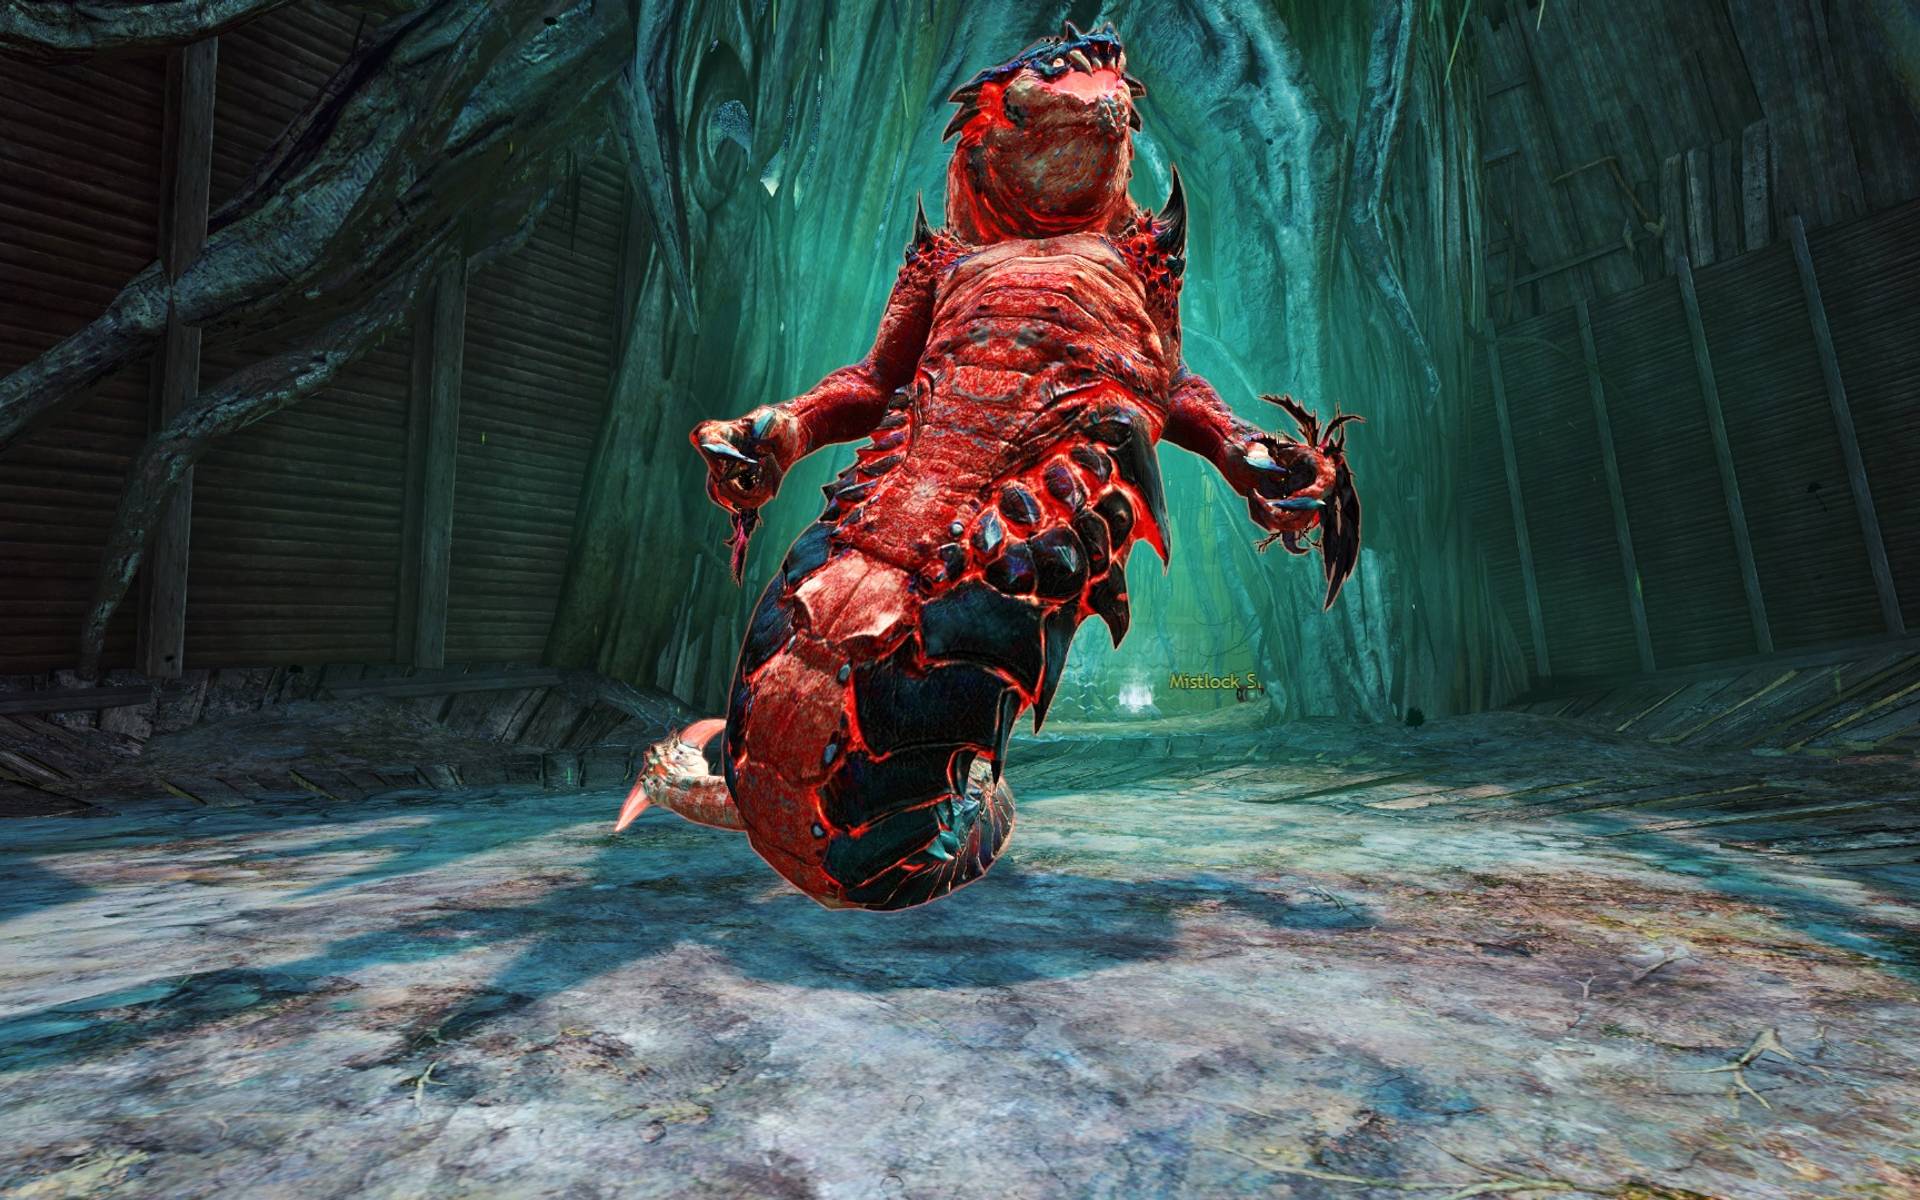
ENSOLYSS 14,059,890 HP
DPS Statistics by gw2wingman
Weapons
- Berserker2x
- Berserker1x
- Berserker1x
Skills
Heal
Utilities
Elite
Skill usage
Precast
Use twice at the Mistlock Singularity.
Tips
- All Soulbeasts can precast to assist with Boons in the first split.
Ideal Rotation
Phase 1 (100%-66%)
Precast , then combo into to assist with breaking the defiance bar.
Swap weapons and immediately start bursting into Exposed.
Start with and to make their second cast fit before Nightmare Devastation (bubble).
Tips
- If you have a precasted , delay the one casted in fight until after the bubble spawns. Usually this is right after your ends.
- When playing with use it near the end of the phase.
Ideal Rotation
Split 1 & 2
Use shortly after the phase ends to extend your Boons.
While capping your assigned Altar, avoid as much damage as possible to ensure in the next phase.
Cast when it comes off cooldown to gain Quickness and extend your Boons via .
Use a second time near the end of the split phase.
Tips
- The Soulbeast with and another Soulbeast should take the northeast and northwest Altars next to the Renegade. Group together in the north Altar and have the Renegade share Alacrity under . This ensures higher Alacrity uptime during the split for the two Soulbeasts and makes their cooldown recharge faster. The Soulbeasts move into their own Altar right after the first capture tick happens.
Ideal Rotation
Phase 2 & 3 (66%-33% & 33%-0%)
Precast before Ensolyss is vulnerable, then help stack Vulnerability with .
Fill with and until the defiance bar appears.
As in phase 1, use and into the defiance bar.
During Exposed burst with the same rotation as in phase 1.
Tips
- In fast groups use immediately after to get the cooldown back earlier in phase 3.
- When playing with use it right as everyone regroups in the middle and again when it comes off cooldown near the end of the phase.
Ideal Rotation
SKORVALD 5,551,340 HP
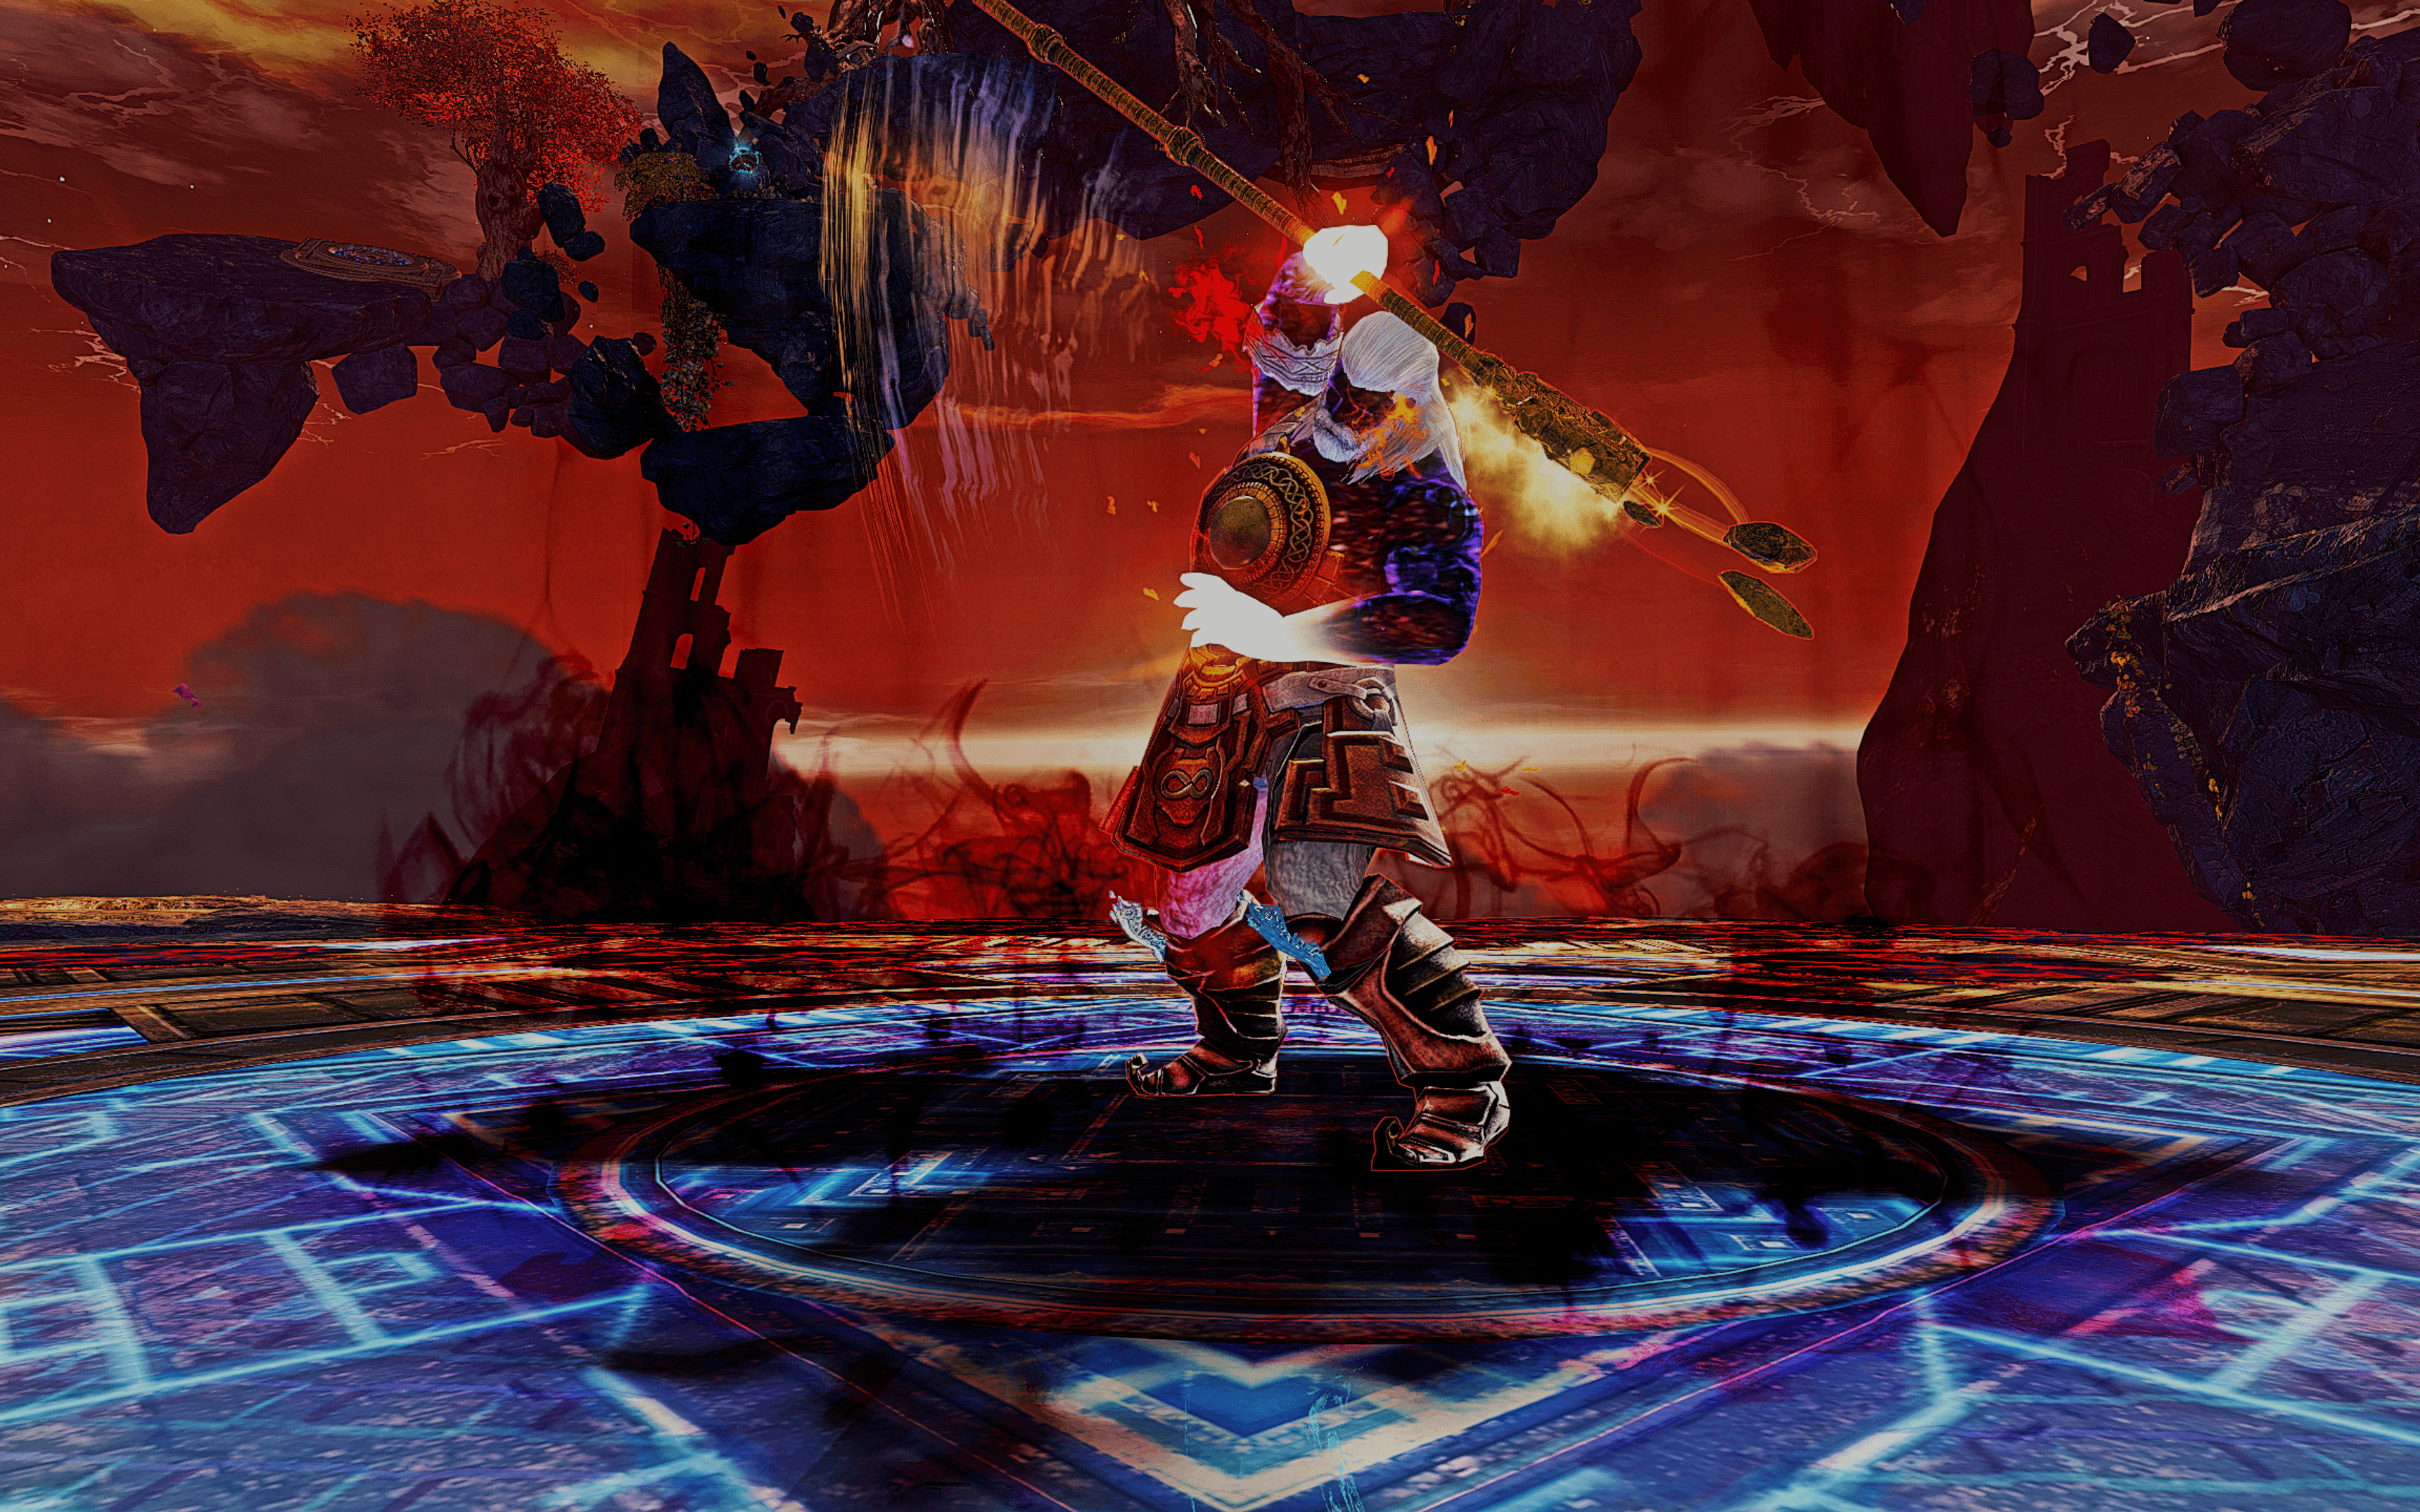
DPS Statistics by gw2wingman
Weapons
- Berserker2x
- Berserker1x
- Berserker1x
Skills
Heal
Utilities
Elite
Notes
- Pet: Pig for damage from and CC from .
- Take .
- Play with and .
- Use to speed up killing the Anomalies.
- With good instabilities use as Utility food.
Skill usage
Precast
Use twice at the Mistlock Singularity.
Ideal Rotation
Phase 1 (100%-66%)
Precast and .
Start casting as soon as you get in combat (without having a target).
Follow up with to help break Skorvald's defiance bar.
as soon as possible.
Use , swap weapons and finish the phase with Axe/Axe skills and .
Ideal Rotation
Split 1 & 2
Contribute as much damage to the Anomalies as possible.
If possible, try to use two skills at each Anomaly.
Use at the last island to refresh and for the upcoming boss phase.
Tips
- You can use to move through updrafts more quickly.
- Use to speed up killing the Anomalies.
- With Mistlock Instability: Outflanked try to flank the Anomalies.
Ideal Rotation
Island 1
Phase 2 & 3 (66%-33% & 33%-0%)
Skorvald right after taking the portal back to the boss.
Place your and repeat the burst from phase 1 except for .
Ideal Rotation
ARTSARIIV 5,962,266 HP
DPS Statistics by gw2wingman
Weapons
- Berserker1x
- Berserker
- Berserker1x
Skills
Heal
Utilities
Elite
Notes
- Pet: Rock Gazelle for CC phases.
- Take and instead of for the first CC.
- With good instabilities use as Utility food.
Skill usage
Precast
Use once at the Mistlock Singularity, as the cooldown needs to be up for phase 3.
In slow kills you can use it twice instead.
Tips
- and are sources of Resistance to precast for your party. It helps against the Weakness in phase 1.
Ideal Rotation
Phase 1 (100%-66%)
Precast and swap to Axe/Axe before getting in combat.
Move through Artsariiv to safety behind her while using and .
Face away from the lasers during .
Use Axe skills as well as before swapping to Longbow.
Try to be within 240 units of Artsariiv for .
Jump over the shockwave while casting .
Tips
- In fast groups use as soon as you take the portal to the boss and start when the marble hits to avoid cooldown issues.
Ideal Rotation
Split 1
Command your unmerged pet to use on your assigned corner.
This will also apply Weakness due to .
Use while moving towards the clone.
Then enter again and finish the CC with .
Use Nova Launch to get back to the center.
Tips
- Precasting with in your corner allows you to stay merged and go faster.
Ideal Rotation
Phase 2 and 3 (66%-33% & 33%-0%)
Start when Artsariiv appears again in the middle.
as soon as possible.
Swap to Axe/Axe and burst.
Try to time and position in a way that you proc .
Tips
- Be careful to place your close enough and not too early, or it will not trigger.
- Swapping to Axe/Axe right after Artsariiv becomes vulnerable allows you to greed one hit of . Do not delay the rest of your rotation for this!
Ideal Rotation
Split 2
Use on the clone at the side.
Swap weapons as soon as possible.
Then to the corner while standing close to or inside the clone in order to hit both clones.
Finally, finish the CC phase with and Nova Launch back to the center.
Tips
- In a fast kill one Soulbeast has to "control" the CC phase by delaying their . This is done to ensure cooldowns will be ready in the next phase. Usually the CC should be completed as or right after the marble hits the ground.
Ideal Rotation
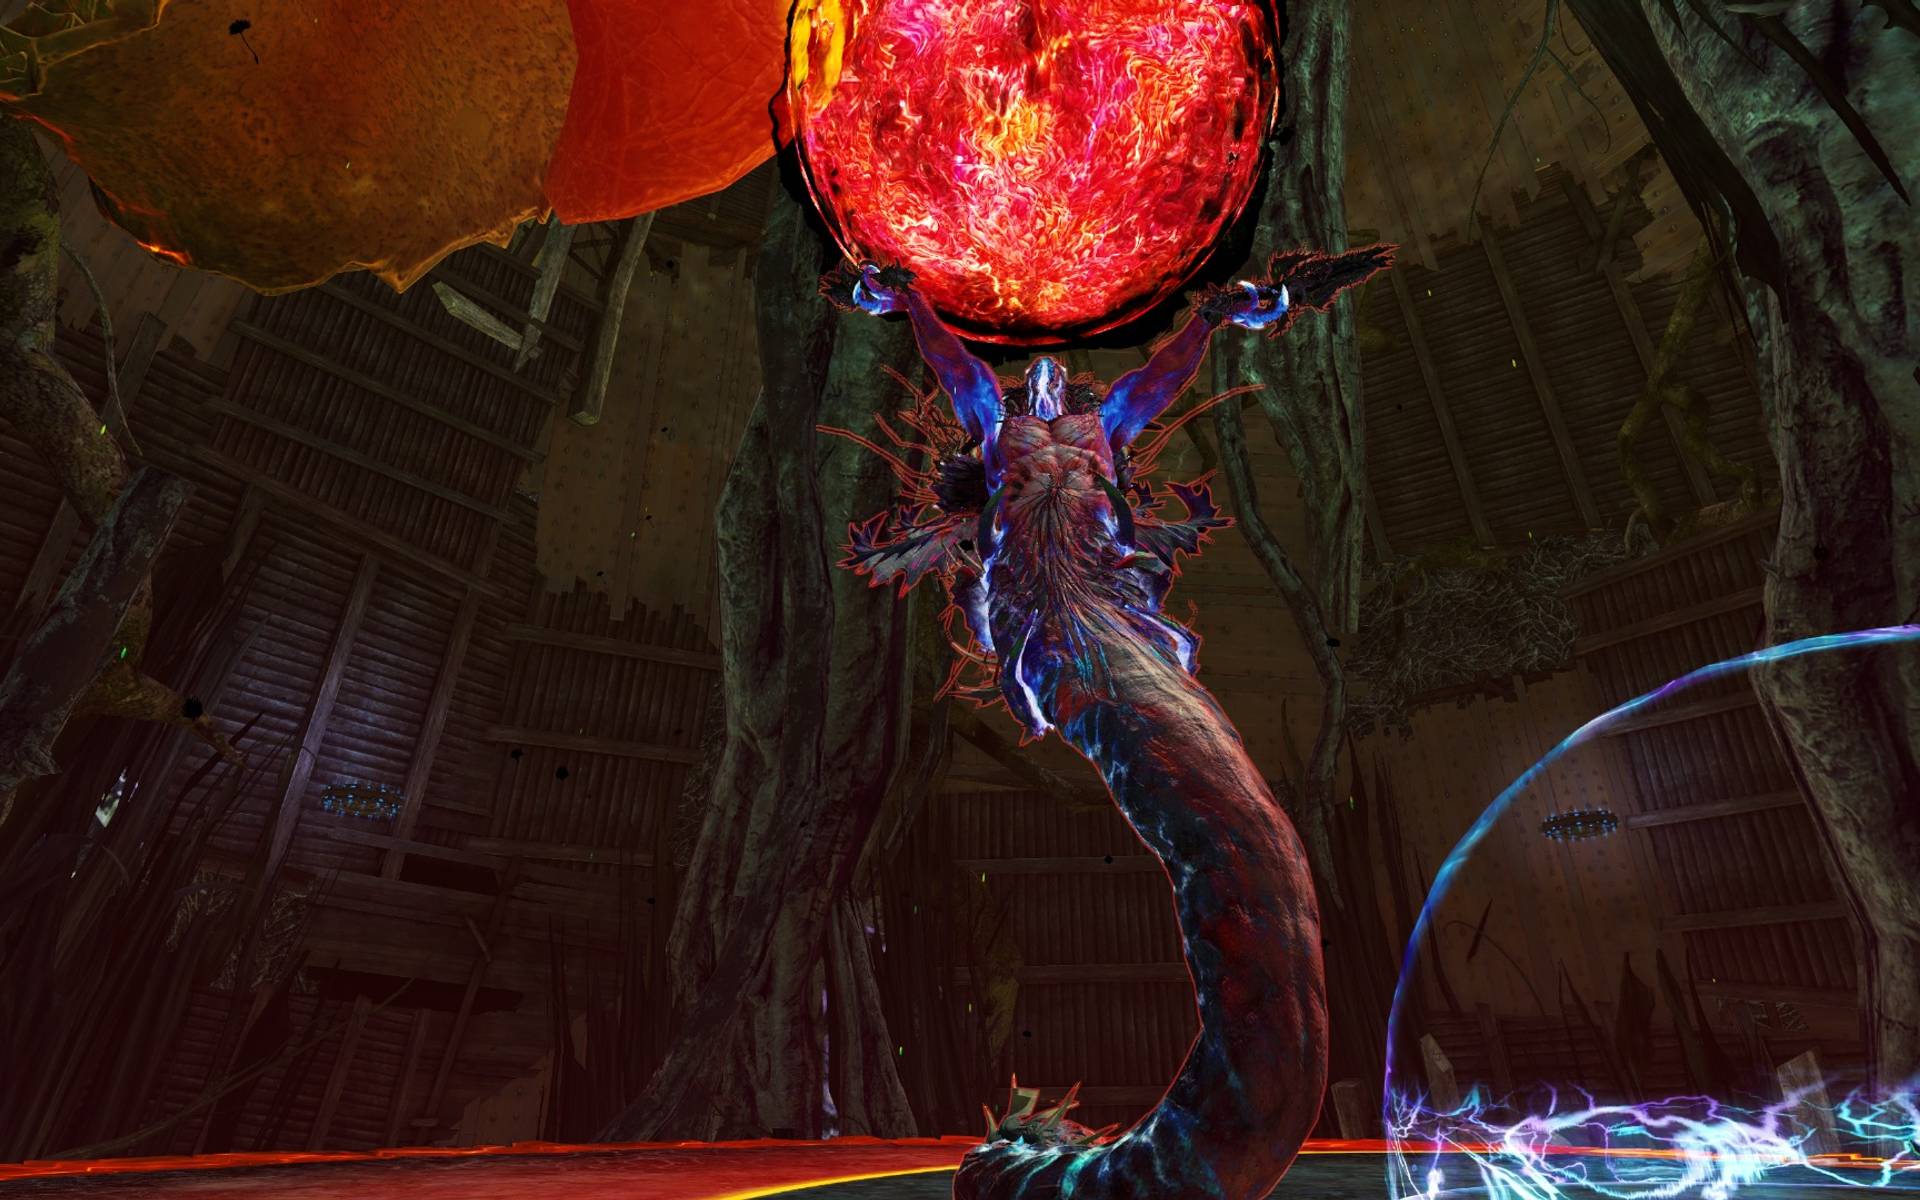
ARKK 9,942,250 HP
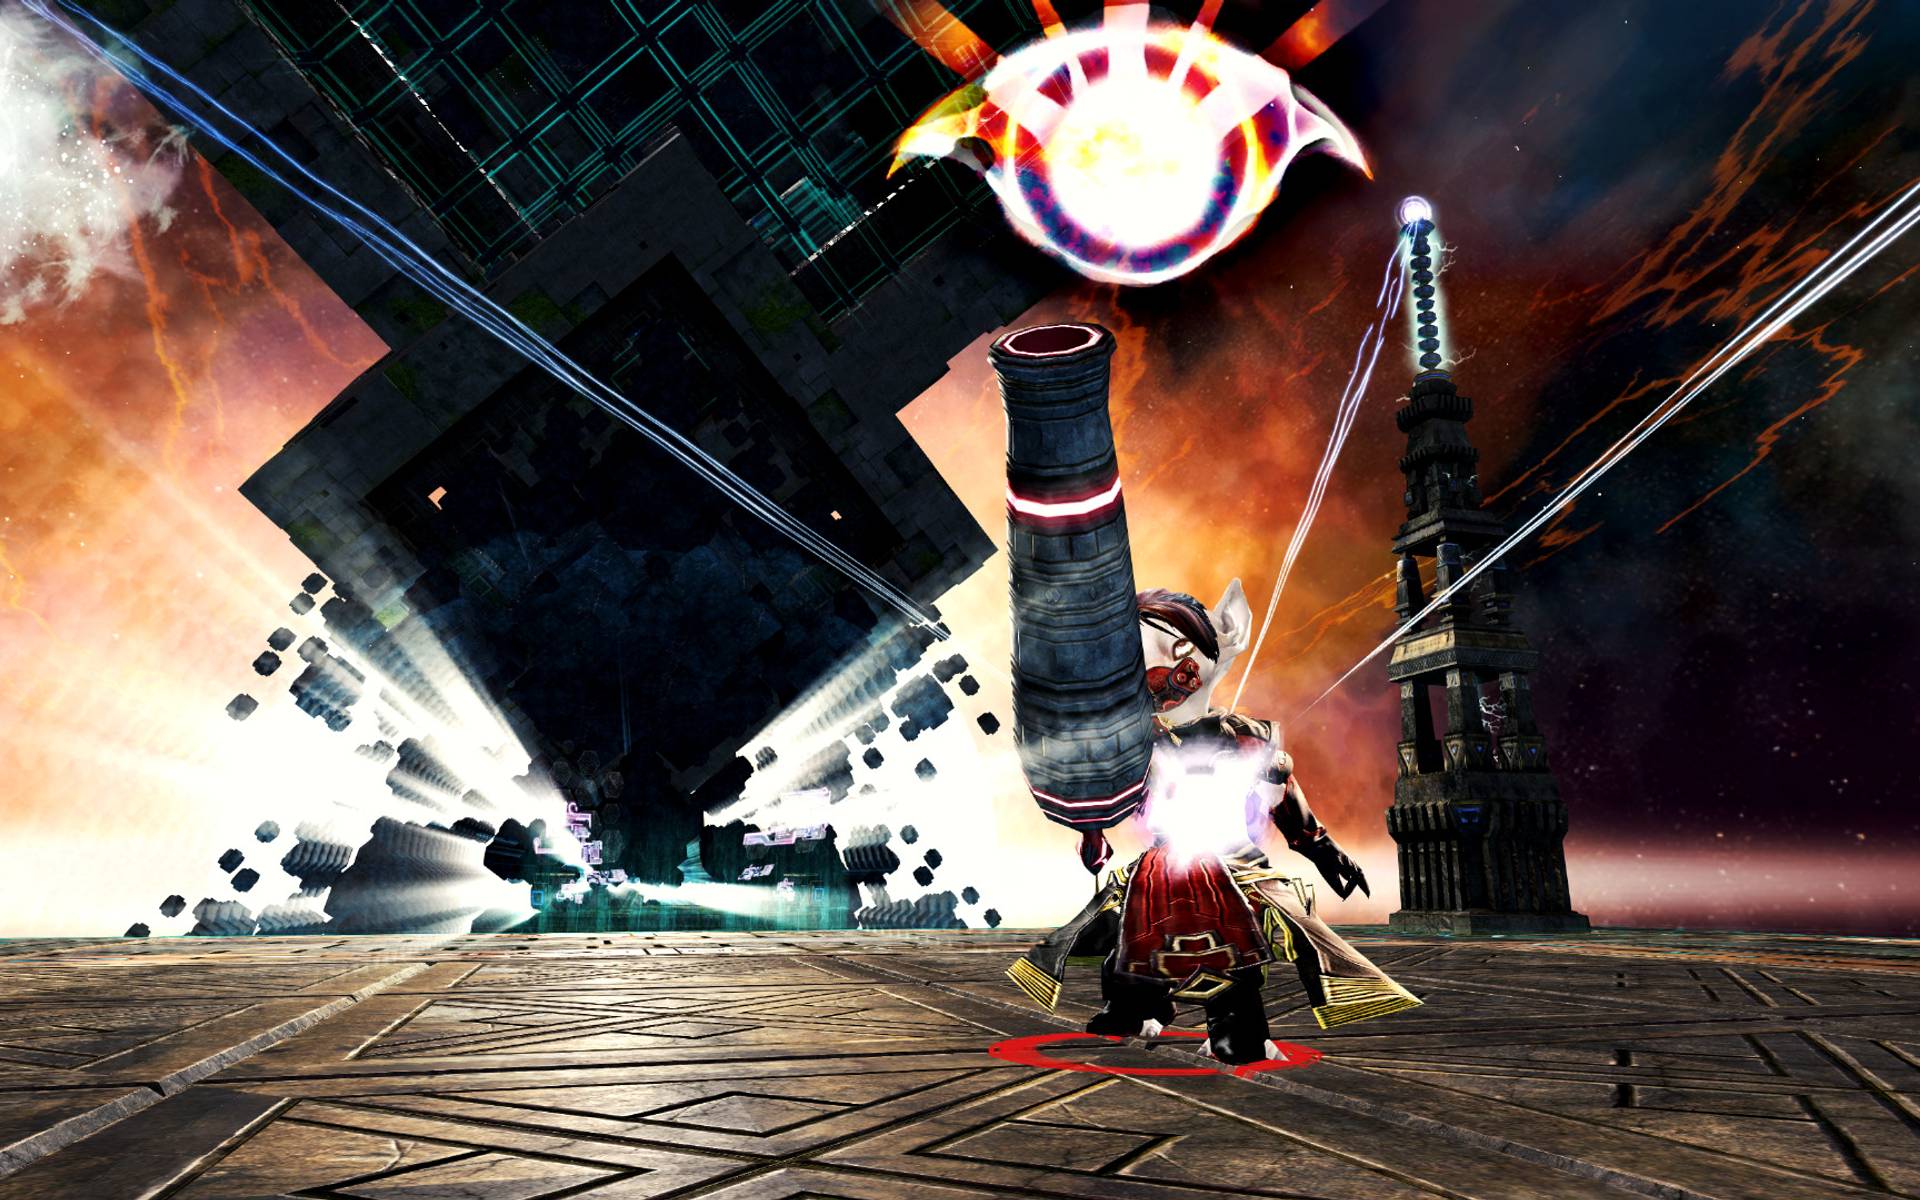
DPS Statistics by gw2wingman
Weapons
- Berserker1x
- Berserker1x
- Berserker1x
Skills
Heal
Utilities
Elite
Notes
- Pet: Red Moa for Vulnerability and .
- Take .
- Play with and . When precasting use instead.
- Swap to !
- Try to ensure and every phase.
- Stack in Cosmic Meteor (green) whenever possible and use after to help with healing.
- Wherever possible you should try to hit multiple targets with your . This can mean hitting an anomaly to help your Renegade kill it. Pulling the adds is also great since they can hurt your uptime.
Skill usage
Precast
Use once at the Mistlock Singularity, as the cooldown needs to be up for phase 3.
Ideal Rotation
Phase 1 (100%-80%)
Use as soon as you enter combat and follow up with the next skill immediately.
Open with high priority Hammer skills, then swap weapons and continue with Axe skills.
Use and while facing away from the eye.
At the end of the phase to not unmerge in case the bomb goes off.
Tips
- Precasting and ensures instant and . This allows more comfortably fitting skills before the eye mechanic.
Ideal Rotation
Bloom Phases
Position yourself far from your assigned Bloom and close to the lightning.
Use to push the Bloom in two hits.
Ideal Rotation
Phase 2 (80%-70%)
Use for while running towards Arkk.
Follow up with to proc .
Use available Axe skills, then swap weapons and finish the phase on Hammer.
Tips
- If your Nova Launch is up, you can use it to get back to Arkk quickly after pushing your Bloom.
Ideal Rotation
Archdiviner
Immediately cast for Vulnerability.
Fill with skills until the Archdiviner will die soon.
Then use and during it press Hypernova Launch.
This will grant you as well as for the next phase.
Tips
- With Mistlock Instability: Outflanked make sure to flank the Archdiviner and use your into Hypernova Launch combo more quickly to still get the hit.
Ideal Rotation
Phase 3 (70%-50%)
Cast both and right before Arkk teleports back.
as soon as possible.
Use Hammer skills, swap to Axe and position yourself where the last Horizon Strike (pizza) slice will appear.
Prioritize and to refresh and .
Step out of the Horizon Strike slice counter-clockwise as ends.
Ideal Rotation
Phase 4 (50%-40%)
Use for while running towards Arkk.
Follow up with to proc .
Use available Axe skills, then swap weapons and finish the phase on Hammer.
Ideal Rotation
Gladiator
Place before the Gladiator spawns.
Immediately and cast for Vulnerability.
Use and during it press Hypernova Launch for and .
Tips
- With Mistlock Instability: Outflanked make sure to flank the Gladiator and use your into Hypernova Launch combo more quickly to still get the hit. Due to the increased damage from flanking you can Arkk instead after he ports out before the Gladiator spawns.
Ideal Rotation
Phase 5 (40%-30%)
Use high priority Hammer skills, then swap and use to refresh .
Interrupt your early to still fit the rest of your Axe skills into the phase.
Ideal Rotation
Phase 6 (30%-0%)
Open with for while running towards Arkk and use .
Follow up with for Vulnerability and .
Place and use .
Cast all Axe skills, then swap weapons and use Hammer skills until Arkk is dead.
Ideal Rotation
