- Please check the CC distribution to contribute your share of the necessary CC!
- Please also read through the fractal pages for general encounter information!
MAMA 5,200,519 HP
DPS Statistics by gw2wingman
Weapons
- Berserker2x
- Berserker1x
- Berserker1x
Skills
Heal
Utilities
Elite
Notes
This fight gets very messy if the adds are not immediately CCed. Especially at this fight it is recommended to grab extra CC skills to make up for the lack of CC of your team mates.
- Pet: Rock Gazelle.
- Take .
Skill usage
The timing of later on in the fight will depend on your groups DPS and when you first cast it. If it is off cooldown at the start of phase 3 use it then. If not use it after you have casted on P4.
Your rotation will depend on your groups DPS and ability to CC! In general make sure you have as many damage modifiers up as you can when you do your burst and try to time it with the Exposed effect. Outside of your burst use skills with shorter cooldowns while you wait for your cooldowns to line up and try not to get stuck auto attacking on Longbow.
Precast
- Make sure you have while precasting!
- If a fire field isn’t present, equip an offhand torch and use .
- Use to grant your team free extra boon duration.
- Summon and use to blast Might.
- then take Mistlock Singularity, use again and swap to Longbow.
- As you run in cast (for the second time) and swap traits to .
- Call to you using , and cast as MAMA Spawns.
1st Phase
- as soon as MAMA is vulnerable.
- -> to CC and proc .
- Swap weapons.
- -> .
1st Add
- Use to reach the add quickly.
- Autoattack as well as using and .
- If your group is slow you may have time to switch back to Longbow here and cast . Only do this if you will have time to burst P2 and still swap back to Longbow after for the 2nd add.
2nd Phase
- When you go back back to MAMA, autoattack on sword/axe. You can use (or while facing backwards) to jump back to MAMA if you want.
- -> as they come off cooldown.
- Swap weapons.
- to proc .
- .
- Use and if they come off cooldown, otherwise auto attack on Longbow for the rest of the phase.
2nd Add
- Precast to hit MAMA and the add.
- Use a mix of and autoattacks to kill the add.
3rd Phase
- .
- -> to CC and proc .
- Swap weapons.
- -> .
- Once MAMA hits 25% you can use for a free leap away from the poison field and get to the add faster.
3rd Add
- Resummon your as it has probably died by now.
- Swap weapons as soon as it is off cd ( if you can before swapping).
- Autoattack as well as using and .
4th Phase
- Try to cast so it doesn't get interrupted by MAMA jumping.
- Use -> to CC and proc .
- then .
- Swap to axe as soon as possible and use -> .
SIAX 6,138,797 HP
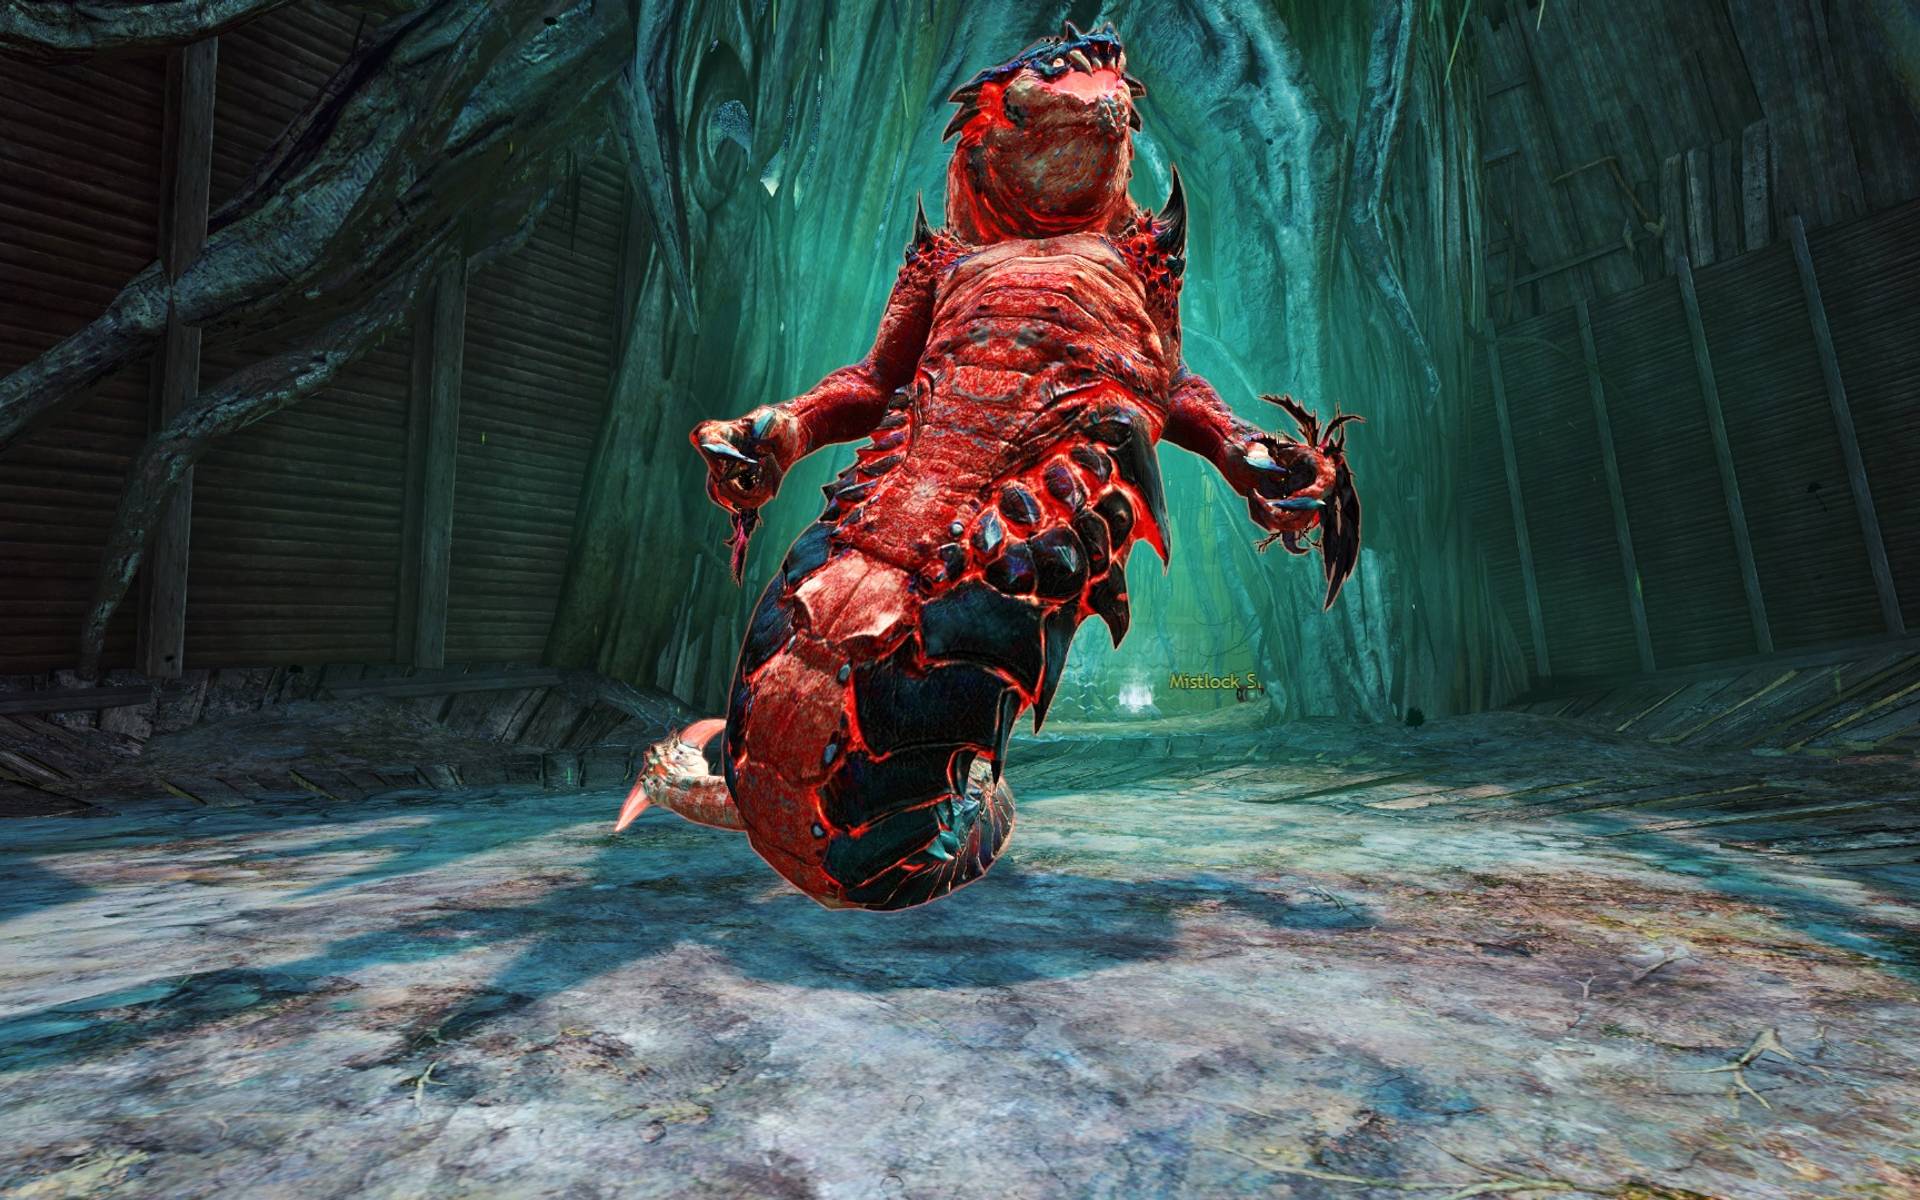
DPS Statistics by gw2wingman
Weapons
- Berserker2x
- Berserker1x
- Berserker1x
Skills
Heal
Utilities
Elite
Notes
- Pet: Rock Gazelle.
- Take , .
- Remember to use for this encounter!
- Longbow will burst higher on this fight, but you will have trouble killing your 2nd add. You should only play it if you know you can quickly kill the add or you have help.
Skill usage
The timing of in this fight will depend on your group. If your group has low DPS and/or is running into the fight use just before the CC bar appears on P1 and again at the start of P3. If your group is portalling into the fight and has reasonable DPS cast as late as you can in the precast, then save it for the start of P2.
If your P1 is slow you may have time to swap to Greatsword for the first split phase. When you go back to Siax use -> -> to burst into Exposed.
Your rotation will depend on your groups DPS and ability to CC! In general make sure you have as many damage modifiers up as you can when you do your burst and try to time it with the Exposed effect. Outside of your burst use skills with shorter cooldowns while you wait for your cooldowns to line up.
Precast
- Precast before the fight starts.
- Use .
- Use to blast Might, then use .
- Take Mistlock Singularity and swap to Longbow.
- Summon .
- Cast and swap to Greatsword as the yellow cast bar appears.
1st Phase
- as soon as your first trap procs so you have both ticking at the same time.
- as soon as Siax is targetable.
- -> -> before the breakbar.
- followed by to CC.
- Burst with -> -> .
1st Add
- Use to get to the add quickly.
- Stay on Sword and use auto attacks and your pet skills to kill it.
2nd Phase
- You can use or to get back to Siax quickly.
- As soon as they come off cooldown use and .
- Weapon swap and use -> -> and your pet skills to finish the phase.
- Your and may come off cooldown at the start of or during the phase, feel free to use them if you think they will be back off cooldown for P3.
2nd Add
- Use to get to your add quickly.
- Kill your add using a combination of , and your Pet Skills.
3rd Phase
- once Siax is vulnerable.
- Burst with -> -> -> .
- Auto attack and use your pet skills as they come off cooldown until Siax is dead.
- In a group with low DPS you will have time to swap back to Greatsword, so finish the fight with -> -> .
- You might also have to break a CC bar in this phase so try to use , , to help.
ENSOLYSS 14,059,890 HP
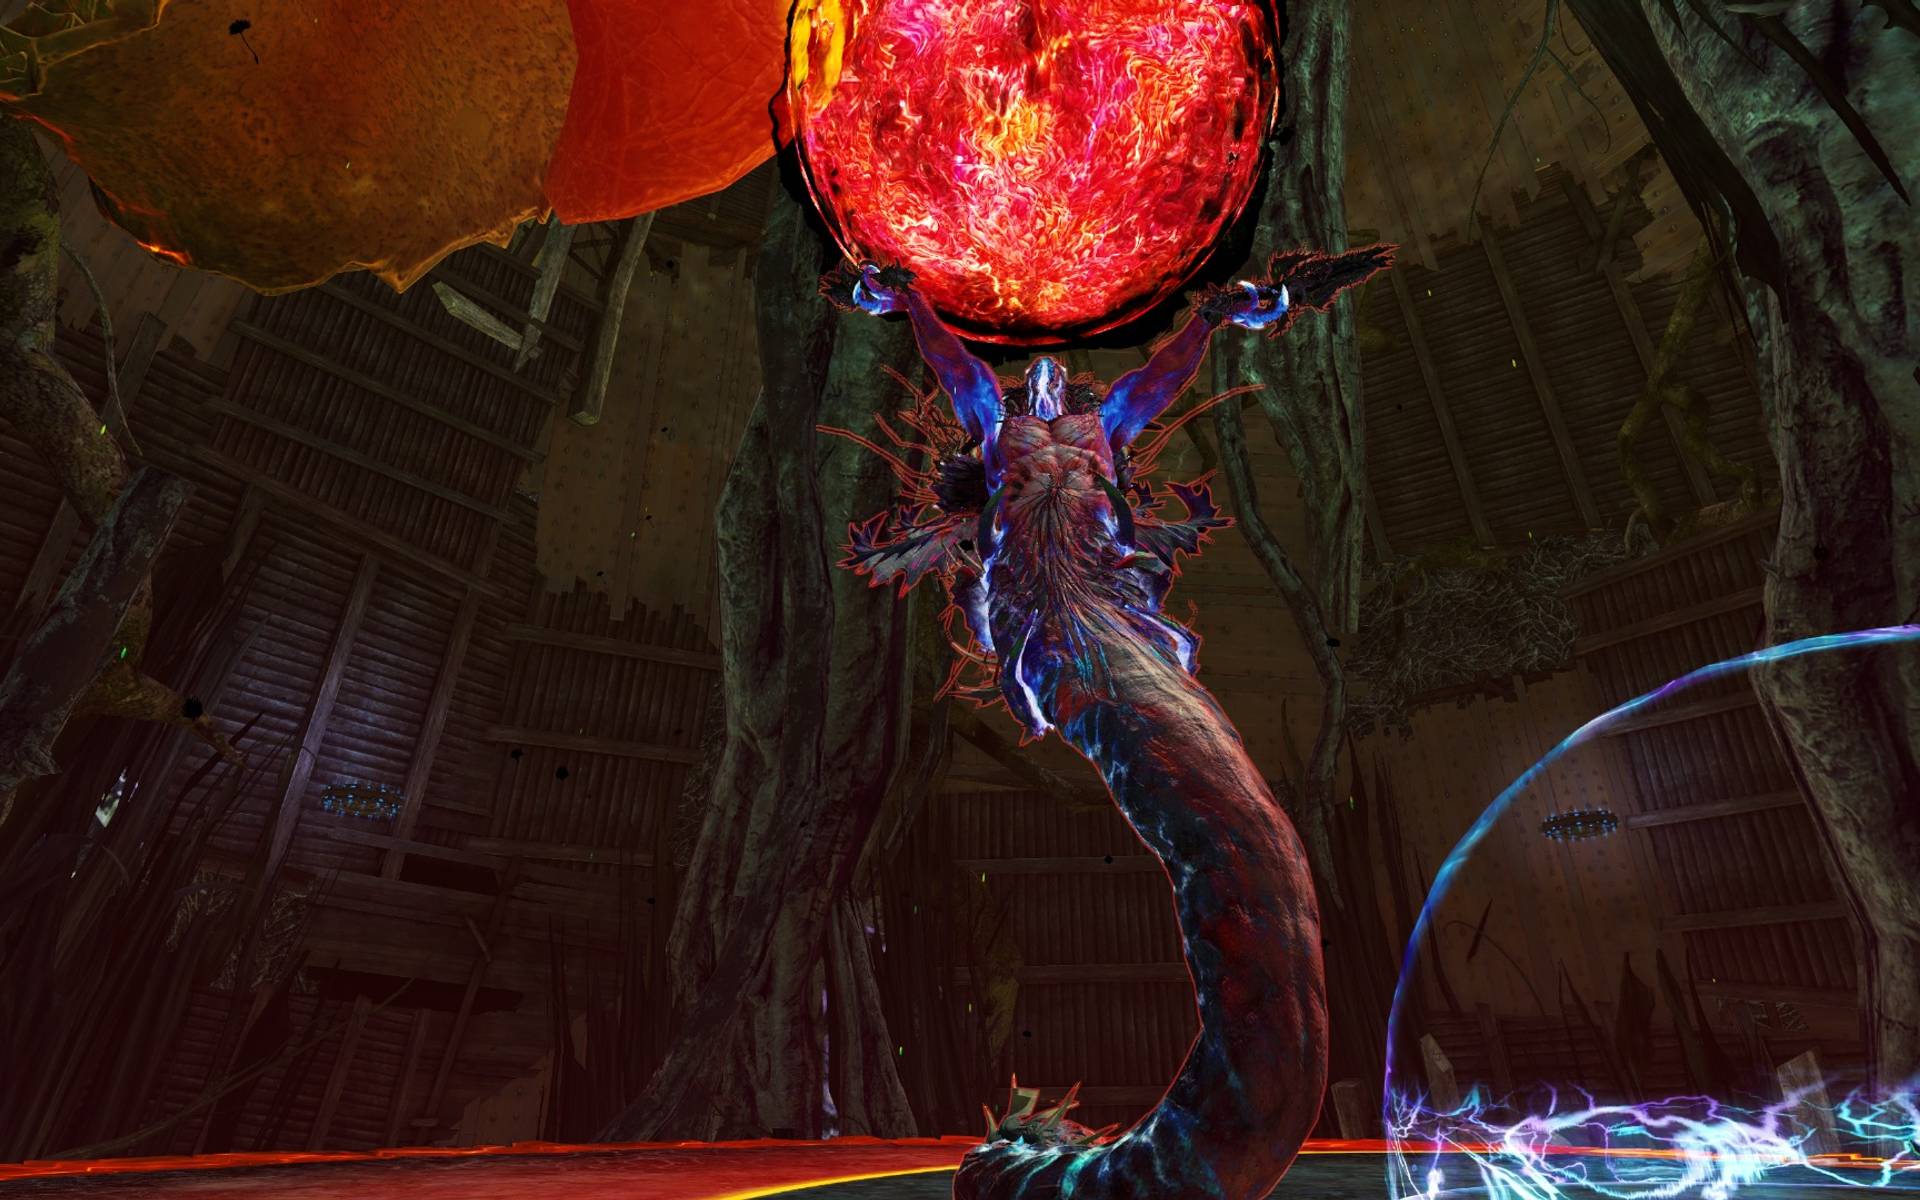
DPS Statistics by gw2wingman
Weapons
- Berserker2x
- Berserker1x
- Berserker1x
Skills
Heal
Utilities
Elite
Notes
- Pet: Rock Gazelle.
- Take .
- Remember to use for this encounter!
Skill usage
The following guide is assuming your group doesn't instabreak the first CC bar. If you are going to instabreak you should refer to the static opener then follow the rest of the rotation from this guide.
Your rotation will depend on your groups DPS and ability to CC! In general make sure you have as many damage modifiers up as you can when you do your burst and try to time it with the Exposed effect. Outside of your burst use skills with shorter cooldowns while you wait for your cooldowns to line up and try not to get stuck auto attacking on Longbow.
Precast
- Use to grant your team free extra boon duration.
- If a fire field isn’t present, equip an offhand torch and use .
- to blast Might, then take Mistlock Singularity and again.
- Swap to Longbow and take the portal the the platform.
- As you are about to spawn Ensolyss summon .
Phase 1
- , for instant CC. Start casting just before Ensolyss becomes vulnerable so you can hit both CC skills.
- Use and , move into the bubble as it spawns.
- Cast and towards the end of the cast use .
- When the bar reappears after the bubble use a CC skills to help break it.
- Once it's broken burst with , , cancel it half way through and use , weapon swap, -> .
- Autoattack until your is off cool down again and then weapons swap and use .
- At this point Ensolyss should dash so cast mid and then continue with your normal rotation until Ensolyss phases.
Orb Phases
- Use and to keep up Alacrity on yourself.
- Re summon if it has died.
Phase 2
- Call mid with , and if you don't have any Quickness use to generate some.
- Cast as Ensolyss spawns, and towards the end of the cast use .
- -> .
- CC with and .
- Burst with , cancel it half way through and use , weapon swap, -> .
- Auto attack until your is off cool down again and then weapons swap and use .
- Make sure you are stood in a safe place to cast again and continue with the standard rotation until Ensolyss phases.
Orb Phases
- Use and to keep up Alacrity on yourself.
- Re summon if it has died.
Phase 3
- Repeat the same as Phase 2.
- Remember to Call to you with at 15%, and don't cry to much from being stuck on Longbow for most of the Exposed effect.
SKORVALD 5,551,340 HP
DPS Statistics by gw2wingman
Weapons
- Berserker2x
- Berserker1x
- Berserker1x
Skills
Heal
Utilities
Elite
Notes
- Pet: Rock Gazelle.
- Take .
- With good instabilities, use as Utility food.
- You can swap for in your longbow if you want.
- Warhorn can be a replacement for Longbow here, is a blast finisher allowing you to stack Might on the islands. You simply use before you start attacking in each phase.
Skill usage
Your rotation will depend on your groups DPS and ability to CC! In general make sure you have as many damage modifiers up as you can when you do your burst and try to time it with the Exposed effect. Outside of your burst use skills with shorter cooldowns while you wait for your cooldowns to line up and try not to get stuck auto attacking on Longbow.
Spirit Management:
- If you run with a healer you can summon it on the platform and you can forget about it as it will probably stay alive the whole fight (Obviously if it dies resummon it!).
- If you run without it depends on how your Renegade plays, if they precast before Skorvald spawns then you can summon your down on the boss platform after the precast and the Kalla heal skill will sustain it until the second phase. In this scenario you don't teleport it at all you just leave it behind.
- If they don't do this then you will want to summon the spirit next to the Boss Challenge Mote and let it tick down in health for a couple of ticks and then pull it firstly down to Skorvald after the precast and then to the first island using in order to kill it so it is back up for island 4 to be resummoned. This is the method described in the guide below.
Precast
- When you are activating the Boss Challenge Mote run down to the boss platform and precast on the boss like a Dragonhunter in disguise. Then /gg and wait up by the Mote until you are ready to precast.
- Use .
- to blast Might, then take Mistlock Singularity and again.
- Swap to Longbow and run to the platform. As you run summon your .
- Cast .
100%-66%
- When your first procs cast it again and use .
- As soon as Skorvald is targetable, use , and to CC.
- and then into Exposed.
- Use , auto attack and your pet skills if Skorvald hasn't phased.
- Place a portal if you volunteered to do 66%.
- Use to get to the first island once it is phased.
Islands
- Remember to use to keep up boons.
- Use and autoattacks to kill the first add.
- You can use on the 2nd one after it jumps.
- Swap to longbow and kill the 3rd add with and .
- As soon as you land on the last island, open portal if you placed it. Help to kill the last add and use or to proc .
- Take the portal early to precast before Skorvald becomes vulnerable.
66%-33%
- , .
- as your party arrive through the portal.
- then weaponswap.
- -> .
- If Skorvald doesn't phase carry on with the normal rotation.
33%-0%
- Same as 66% to 33%.
ARTSARIIV 5,962,266 HP
DPS Statistics by gw2wingman
Weapons
- Berserker2x
- Berserker1x
- Berserker1x
Skills
Heal
Utilities
Elite
Notes
- Pet: Rock Gazelle.
- Take .
- With good instabilities, use as Utility food.
- If your group is struggling with conditions use .
- If you don't trust stability swap for (If you want to be PMA and share it play ).
Skill usage
If you group is going to skip the first anomaly, follow the rotation for side strat in the static section.
This guide assumes you are going to let your group kill the 2nd and 3rd anomalies or skip them completely. If you get the bomb don't panic. Attempt to get the reflect and then if you have time special action key to the dome or /gg! If your group can't kill the anomaly without you you can still attempt to reflect. When you get to the side use , quickly weapon swap and -> .
If your group has fast or organised CC on the split phases, your probably won't be off cooldown in the middle. If this is the case use and swap to Longbow and proc with . Then use and your pet skills.
Your rotation will depend on your groups DPS and ability to CC! In general make sure you have as many damage modifiers up as you can when you do your burst and try to time it with the Exposed effect. Outside of your burst use skills with shorter cooldowns while you wait for your cooldowns to line up and try not to get stuck auto attacking on Longbow.
Precast
- Drop down to the boss platform and precast on the boss like a Dragonhunter in disguise. Then /gg and wait up by the Singularity until you are ready to precast.
- Use .
- to blast Might, then take Mistlock Singularity and again.
- Summon in the middle of the platform (Ideally so it wont get hit by Artsariivs lasers).
- Start the fight as soon as you can and cast
100-66%
- Help kill the anomaly mid than special action key to the side.
- Call to you with , Then use and .
- CC with and .
- Burst with -> -> -> .
- Continue with the normal rotation until Artsariiv phases.
Add Phase
- Use to keep up boons on yourself.
- Make sure you are on Sword/Axe for the start of the next phase.
66-33%
- As Artsariiv becomes vulnerable -> .
- Dodge the shock wave and use ->
- Dodge the laser, to extend boons and special action key to the corner that Artsariiv will move to (it will be glowing purple).
- Cast and call to you with .
- as soon as possible then use
- Proc with either or .
- Quickly weapon swap and use -> and pray for good reflect RNG (If your PuGs aren't doing anything weird you will get the reflect most of the time).
- If Artsariiv hasn't phased continue with your normal rotation.
33 to 0%
- Repeat the same rotation as 66-33%.
ARKK 9,942,250 HP
DPS Statistics by gw2wingman
Weapons
- Berserker1x
- Berserker1x
- Berserker1x
Skills
Heal
Utilities
Elite
Notes
- Pet: Red Moa.
- Take .
- Swap to !
- Resummon your whenever you have downtime when you can't attack (i.e. whilst you are waiting for Arkk, the Archdiviner or Gladiator to spawn on the platform or during an orb phase if you have the time).
- Wherever possible you should try to hit multiple targets with your . (This can mean hitting an anomaly to help your Renegade kill it.)
- You can also pull the adds from the Archdiviner and Gladiator phase since your Firebrand can only pull two at a time.
- Pulling the adds is also great since they can hurt your teams uptime.
- If you drop on quickness for some reason, make sure to use before bursting to get yourself some.
Skill usage
Your rotation will depend on your groups DPS and ability to CC! In general make sure you have as many damage modifiers up as you can when you do your burst and try to time it with the Exposed effect. Outside of your burst use skills with shorter cooldowns while you wait for your cooldowns to line up and try not to get stuck auto attacking on Longbow.
Precast
- Place a portal next to the Mistlock Singularity and use Hypernova Launch over to the boss platform, precast on the boss. After that wait for anybody else who is precasting skills and open the portal.
- Use .
- Use to blast Might, then use .
- Take Mistlock Singularity and swap to Longbow.
- Precast before the boss is activated.
1st Phase (100%-80%)
- as soon as your first trap procs so you have both ticking at the same time.
- as soon as Arkk is targetable.
- to proc .
- if you have time, then walk through Arkk so you avoid the Fear.
- and Swap weapons.
- -> .
- and autoattack with sword if phase is not over.
Bloom phases
- Use then run into the lightning AoE, autoattack the orb once and then use to finish pushing.
2nd Phase (80%-70%)
- Use special action key and to CC.
- Swap weapons.
- Use , , and until Arkk is phased.
Archdiviner
- There is not much you can do here so use and autoattacks to help kill the add.
- Use special action key to CC the add so the boon corrupt AoE's don't spawn.
- As the add dies start casting
3rd Phase (70%-50%)
- -> .
- if it's off cooldown and then to proc .
- Swap weapons.
- Burst with -> .
- Continue with , and sword autoattacks to finish the phase.
- If the phase is slow you may have time to swap to Longbow and use and .
Bloom phases
- Swap to longbow and auto-attack to push the orb.
- Use to keep up boons and precast .
4th Phase (50%-40%)
- Use special action key to CC.
- to proc .
- , , until Arkk is phased.
- If the phase is slow swap to Sword/Axe and finish the phase with auto attacks.
Gladiator Phase
- .
- Pull one add with .
- Use (on the gladiator!) and to kill him fast.
- If the Gladiator isn't dead, dodge the laser, CC with special action key and finish it off with auto attacks.
5th Phase (40%-30%)
- Auto-attack until is off cd, then use it to pull a second add.
- Swap weapons.
- to proc .
- followed by and if it's off cooldown until Arkk is phased.
- Feel free to burst here, just make sure you will have your cooldowns back fo the start of the last phase!
Bloom phases
- Stay on longbow and auto-attack to push the orb.
- Precast .
6th Phase (30%-0%)
- as soon as the boss is vulnerable -> .
- and special action key to CC.
- to proc .
- .
- Swap weapons.
- -> .
- Continue with the normal rotation until Arkk is dead.
