
- Please check the CC distribution to contribute your share of the necessary CC!
- Please also read through the fractal pages for general encounter information!
MAMA 5,200,519 HP
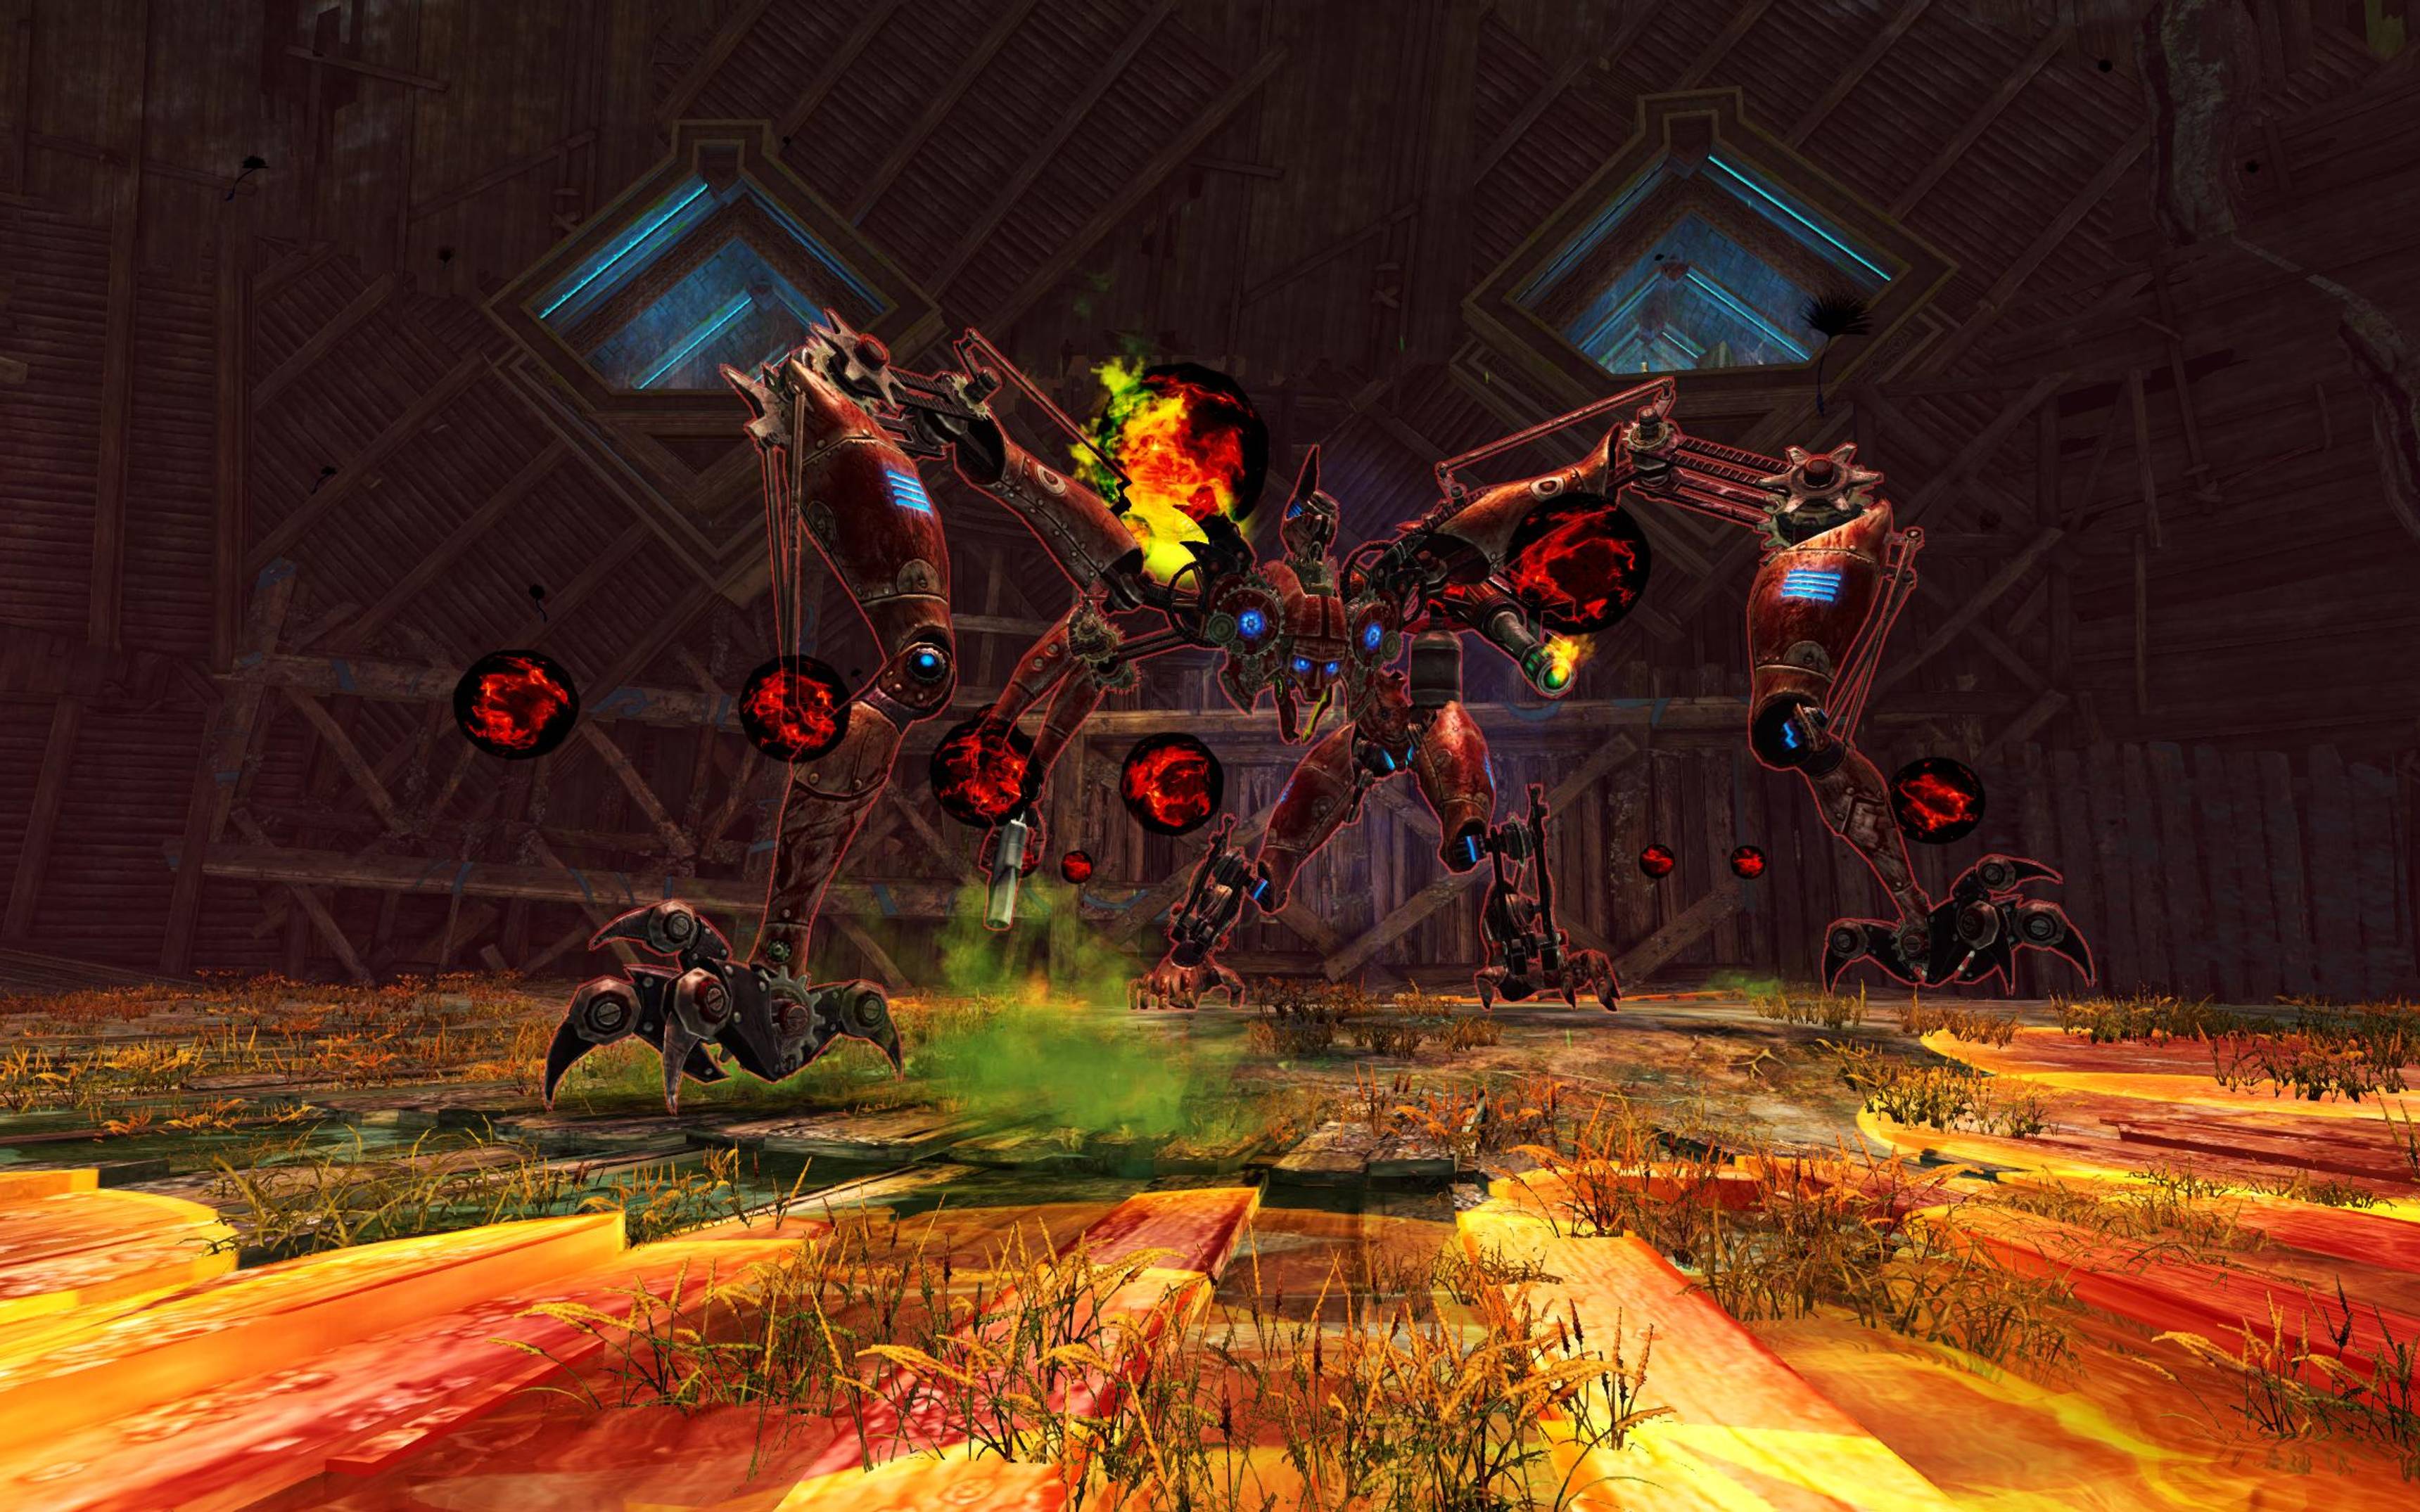
DPS Statistics by gw2wingman
Weapons
- Berserker2x
- Berserker1x
- Berserker1x
Skills
Heal
Utilities
Elite
Notes
Skill usage
Precast
- Precast , detonate them in a fire field
- Precast / Mistfire Wolf, etc (if you have it)
- Take Mistlock Singularity
- Cast 4 halfway to MAMA
Phase 1
- Cast your healing signet into the invulnerability
- (GS 5)
- (GS 4)
- Place both of your wells
- enter shroud and use (Shroud 4)
- Auto Attack in shroud until MAMA phases
First Add
- CC the add if needed
- Use (GS 3)
- Autoattack until the add reaches 50% health
- (GS 2) until the add dies
Phase 2
- Cast your healing signet on MAMA if it is off cooldown as you run to her
- Use (GS 3) (if off cooldown)
- (GS 2)
- Use (GS 5) and (GS 4) when they are off cooldown
- Weapon swap
- (Axe 2)
- Use both wells
- (Shroud 4)
- Auto attack until MAMA phases
Second Add
- (Warhorn 4) to help CC
- Use (Axe 2)
- Weapon swap
If under 50% health:
- Use (GS 2)
If not under 50% health:
- Use (GS 3)
- then (GS 2)
Phase 3
- (GS 5)
- (GS 4)
- Place both of your wells
- If MAMA is broken: (Shroud 4)
- If MAMA isn't broken:
- (Shroud 3)
- (Shroud 5)
- (Shroud 4)
- Auto attack until MAMA phases
Third Add
- CC the add
- (GS 3)
- Auto Attacks until the add is at 50% health
- (GS 2) until the add dies
Phase 4
- Use (Heal) when MAMA jumps
- CC MAMA
- Use (GS 5)
- Use (GS 4)
- Weapon swap
- CC with (Warhorn 4) if still not Exposed
- (Axe 2)
- Use both wells
- (Shroud 4)
- Auto attack until MAMA dies (if you run out of life force, (GS 2))
SIAX 6,138,797 HP
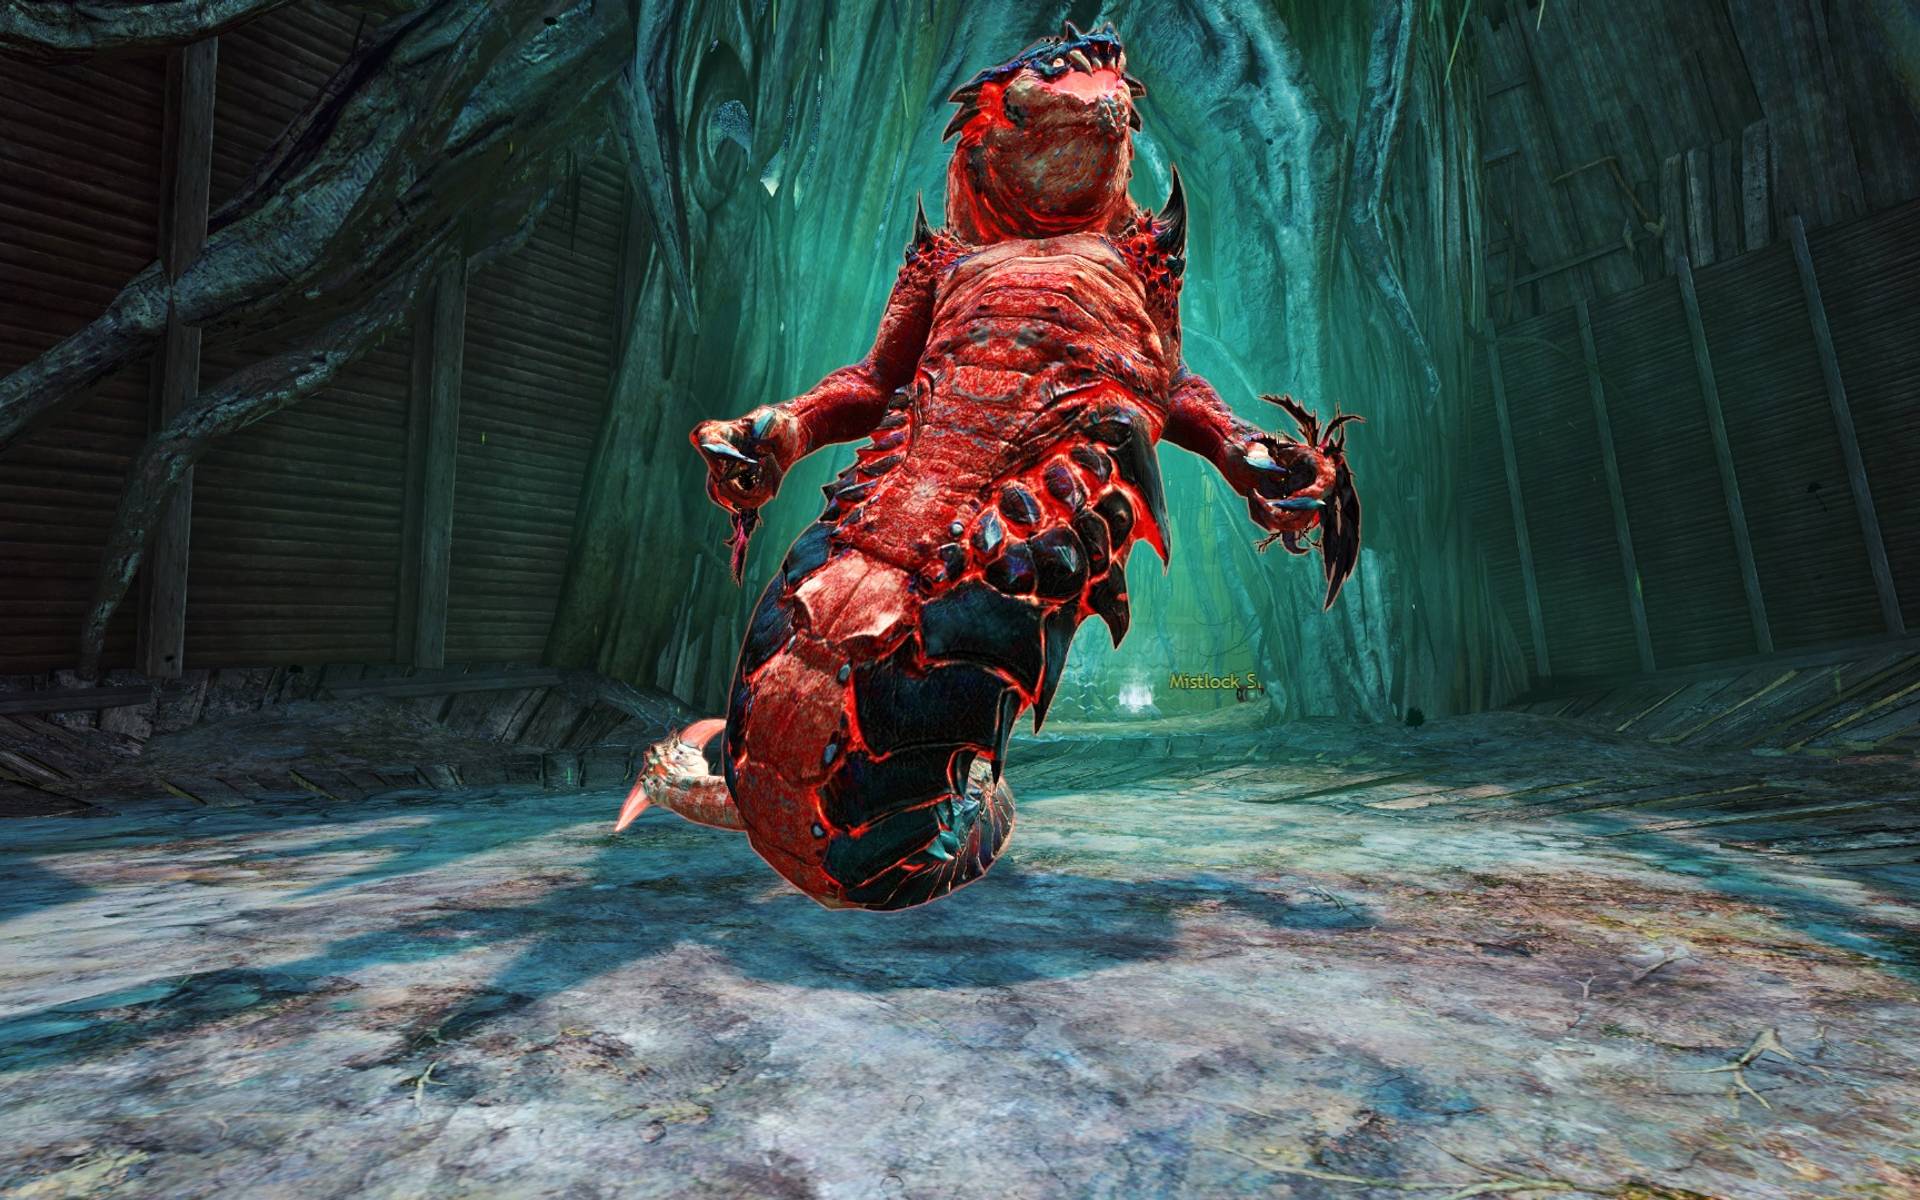
DPS Statistics by gw2wingman
Weapons
- Berserker2x
- Berserker1x
- Berserker1x
Skills
Heal
Utilities
Elite
Notes
Remember to equip + for this encounter!
Skill usage
Precast
- Precast Staff symbols on the orb that starts the encounter
- Precast , detonate them in a fire field
- Precast / Mistfire Wolf, etc (if you have it)
- Take Mistlock Singularity
- Cast 4 at the orb before the encounter starts
Phase 1
- (GS 5)
- (GS 4)
- Place both of your wells
- (Shroud 4)
- (Shroud 3)
- (Shroud 5)
- Shroud auto attack until Siax phases or you are at ~6k Life force
- Use (GS 2)
- Autoattack until Siax phases
Split Phase 1
- Use (GS 3)
- Auto attack until 50%
- (GS 2)
Phase 2
- If Siax is still invulnerable, when your add dies, cast your healing signet into the invulnerability
- (GS 5)
- (GS 4)
- Place both of your wells
- (Shroud 4)
- Shroud auto attack until Siax phases or you are at ~6k Life force
- Use (GS 2) until phases
Split Phase 2
- Use (GS 3)
- Auto attack until 50%
- Use (GS 2)
Phase 3
- If Siax is still invulnerable, when your add dies, cast your healing signet into the invulnerability
- Use both wells when the fight starts
- (GS 5)
- (GS 4)
- (Shroud 4)
- Shroud auto attack until you have no life force left
- (If comes off colldown, use it)
- Use (GS 2) until Siax dies
ENSOLYSS 14,059,890 HP
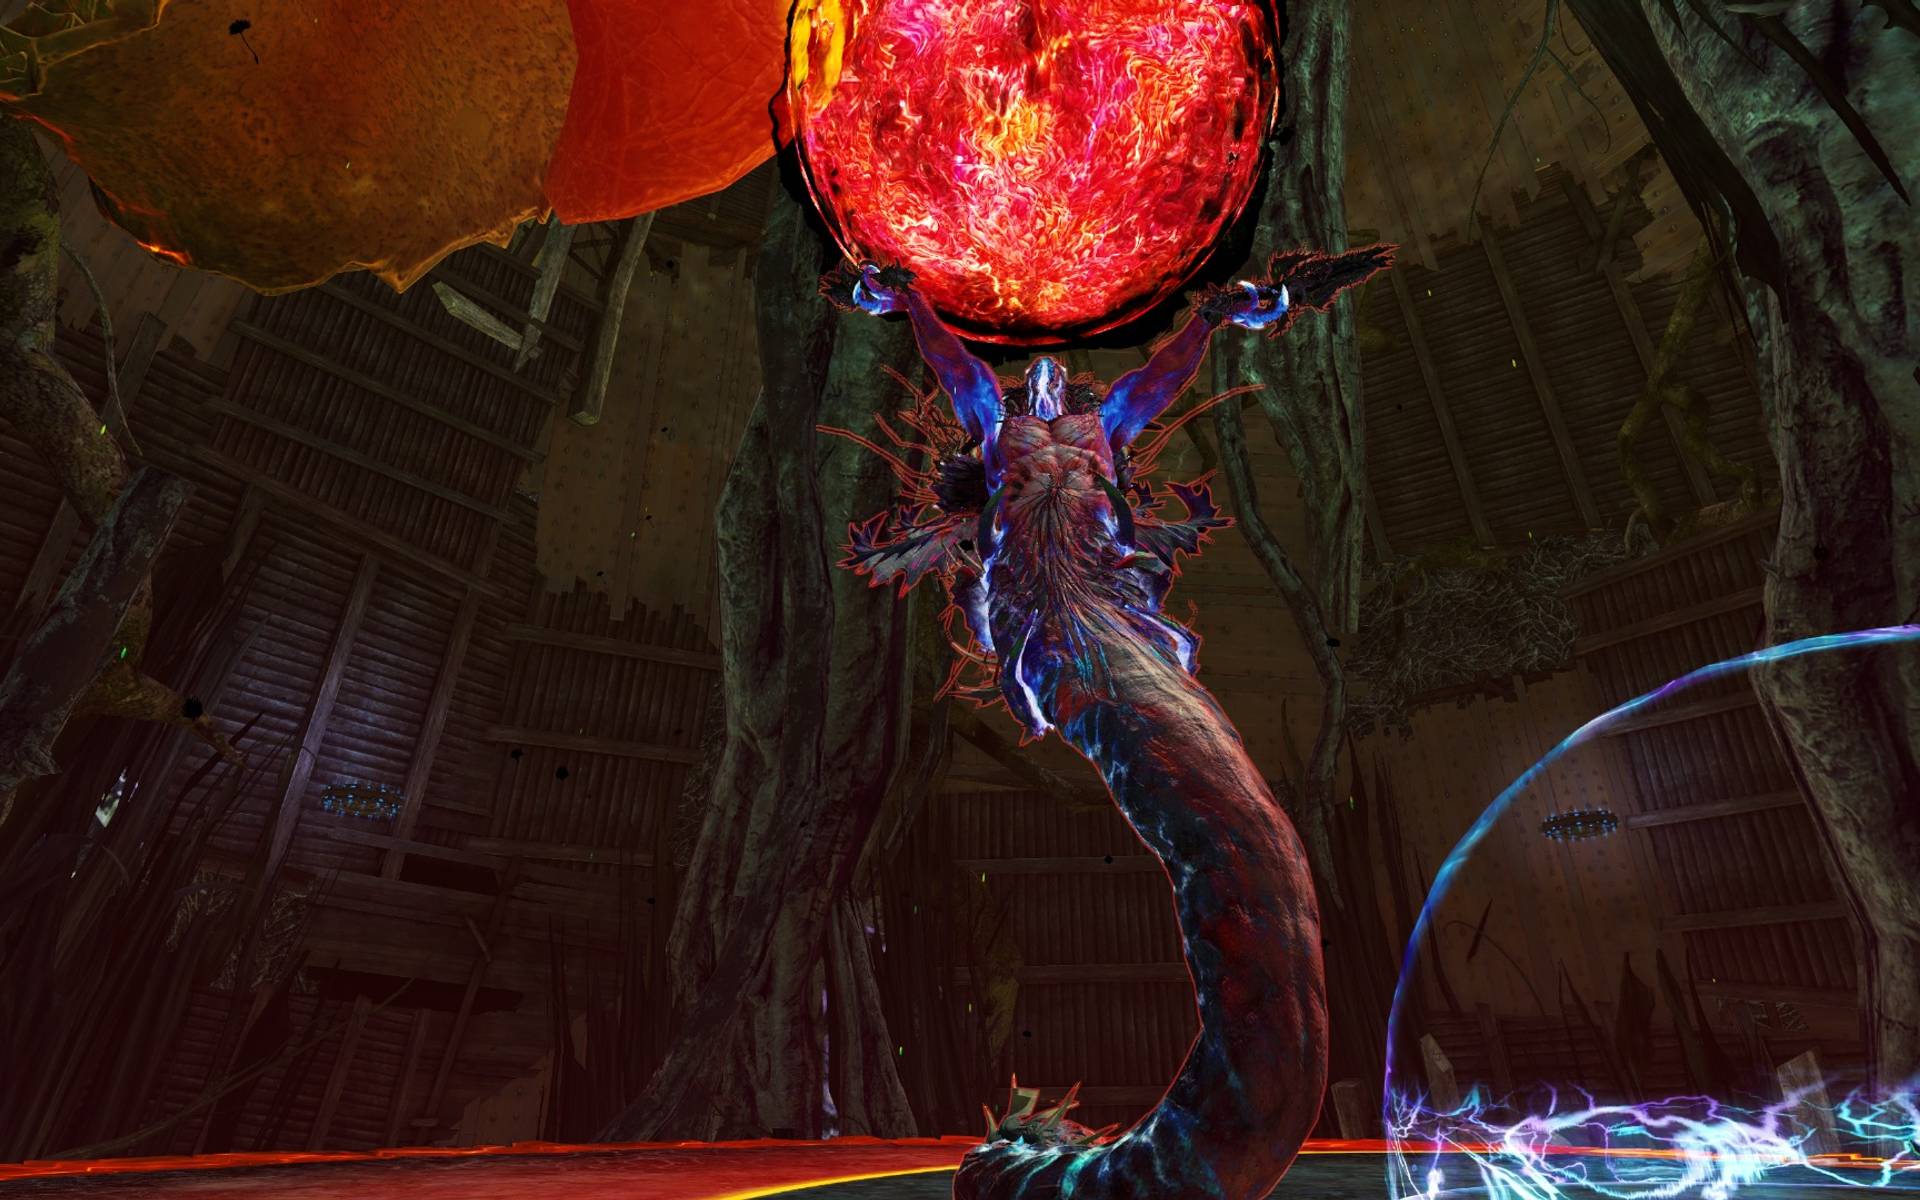
DPS Statistics by gw2wingman
Weapons
- Berserker2x
- Berserker1x
- Berserker1x
Skills
Heal
Utilities
Elite
Notes
Remember to equip + for this encounter!
The exploding adds after Ensolyss’ slam attack fully restore your life force, so auto attack in shroud, dodge the explosions at the very last moment and leave shroud mid dodge!
Skill usage
Precast
- Precast , detonate them in a fire field
- Precast / Mistfire Wolf, etc (if you have it)
- Take Mistlock Singularity
- Cast 4 at the orb
Phase 1
If you run start on greatsword and use the golem so that the charge hits ENSOLYSS as the invulnerability disappearsIf you do not run start on axe/warhorn and use (warhorn 4) as the invulnerability disappears and weapon swap
- Cast your healing signet into the invulnerability
- precast (GS 5) so it lands into the brief cc window
- (GS 4)
- Weapon Swap
- (Warhorn 4) so it lands into the brief cc window
- Place both of your wells
- (Shroud 4)
- Shroud auto attack until you are at ~6k Life force
- Use (GS 2)
- (GS 3)
- Auto attack until he charges
- Use (Heal) during his charge
- (GS 5)
- (GS 4)1) Weapon swap2) (Warhorn 4) to help with CC, if needed3) (Axe 2)
- Place both of your wells
- help to CC Ensolyss if a break bar is up:
- (Shroud 3)
- (Shroud 5)
- (Shroud 4)
- Auto attack
- Exit shroud on last few % until phase
- (Axe 2) to refill life force
Phase 2
- Use (Heal) to get back Scholar faster
- (Warhorn 5)
- (Axe 2)
- (Warhorn 4) to help with CC
- Weapon Swap
- (GS 5)
- (GS 4)
- Place both of your wells
- (Shroud 4)
- Auto attack until ~6k life force
- continue rotation
- Ensolyss will charge, (Heal) during his charge
- (GS 5)
- (GS 4)
- Place both of your wells
- (Shroud 4)
- Spam until Ensolyss phases
Phase 3
- Use (Heal) to get back Scholar faster
- (Warhorn 5)
- (Warhorn 4) to help with CC
- Continue rotation
- For the last 15% stay in shroud until you have no life force left
- If Ensolyss isn’t dead by then, place wells and spam
SKORVALD 5,551,340 HP
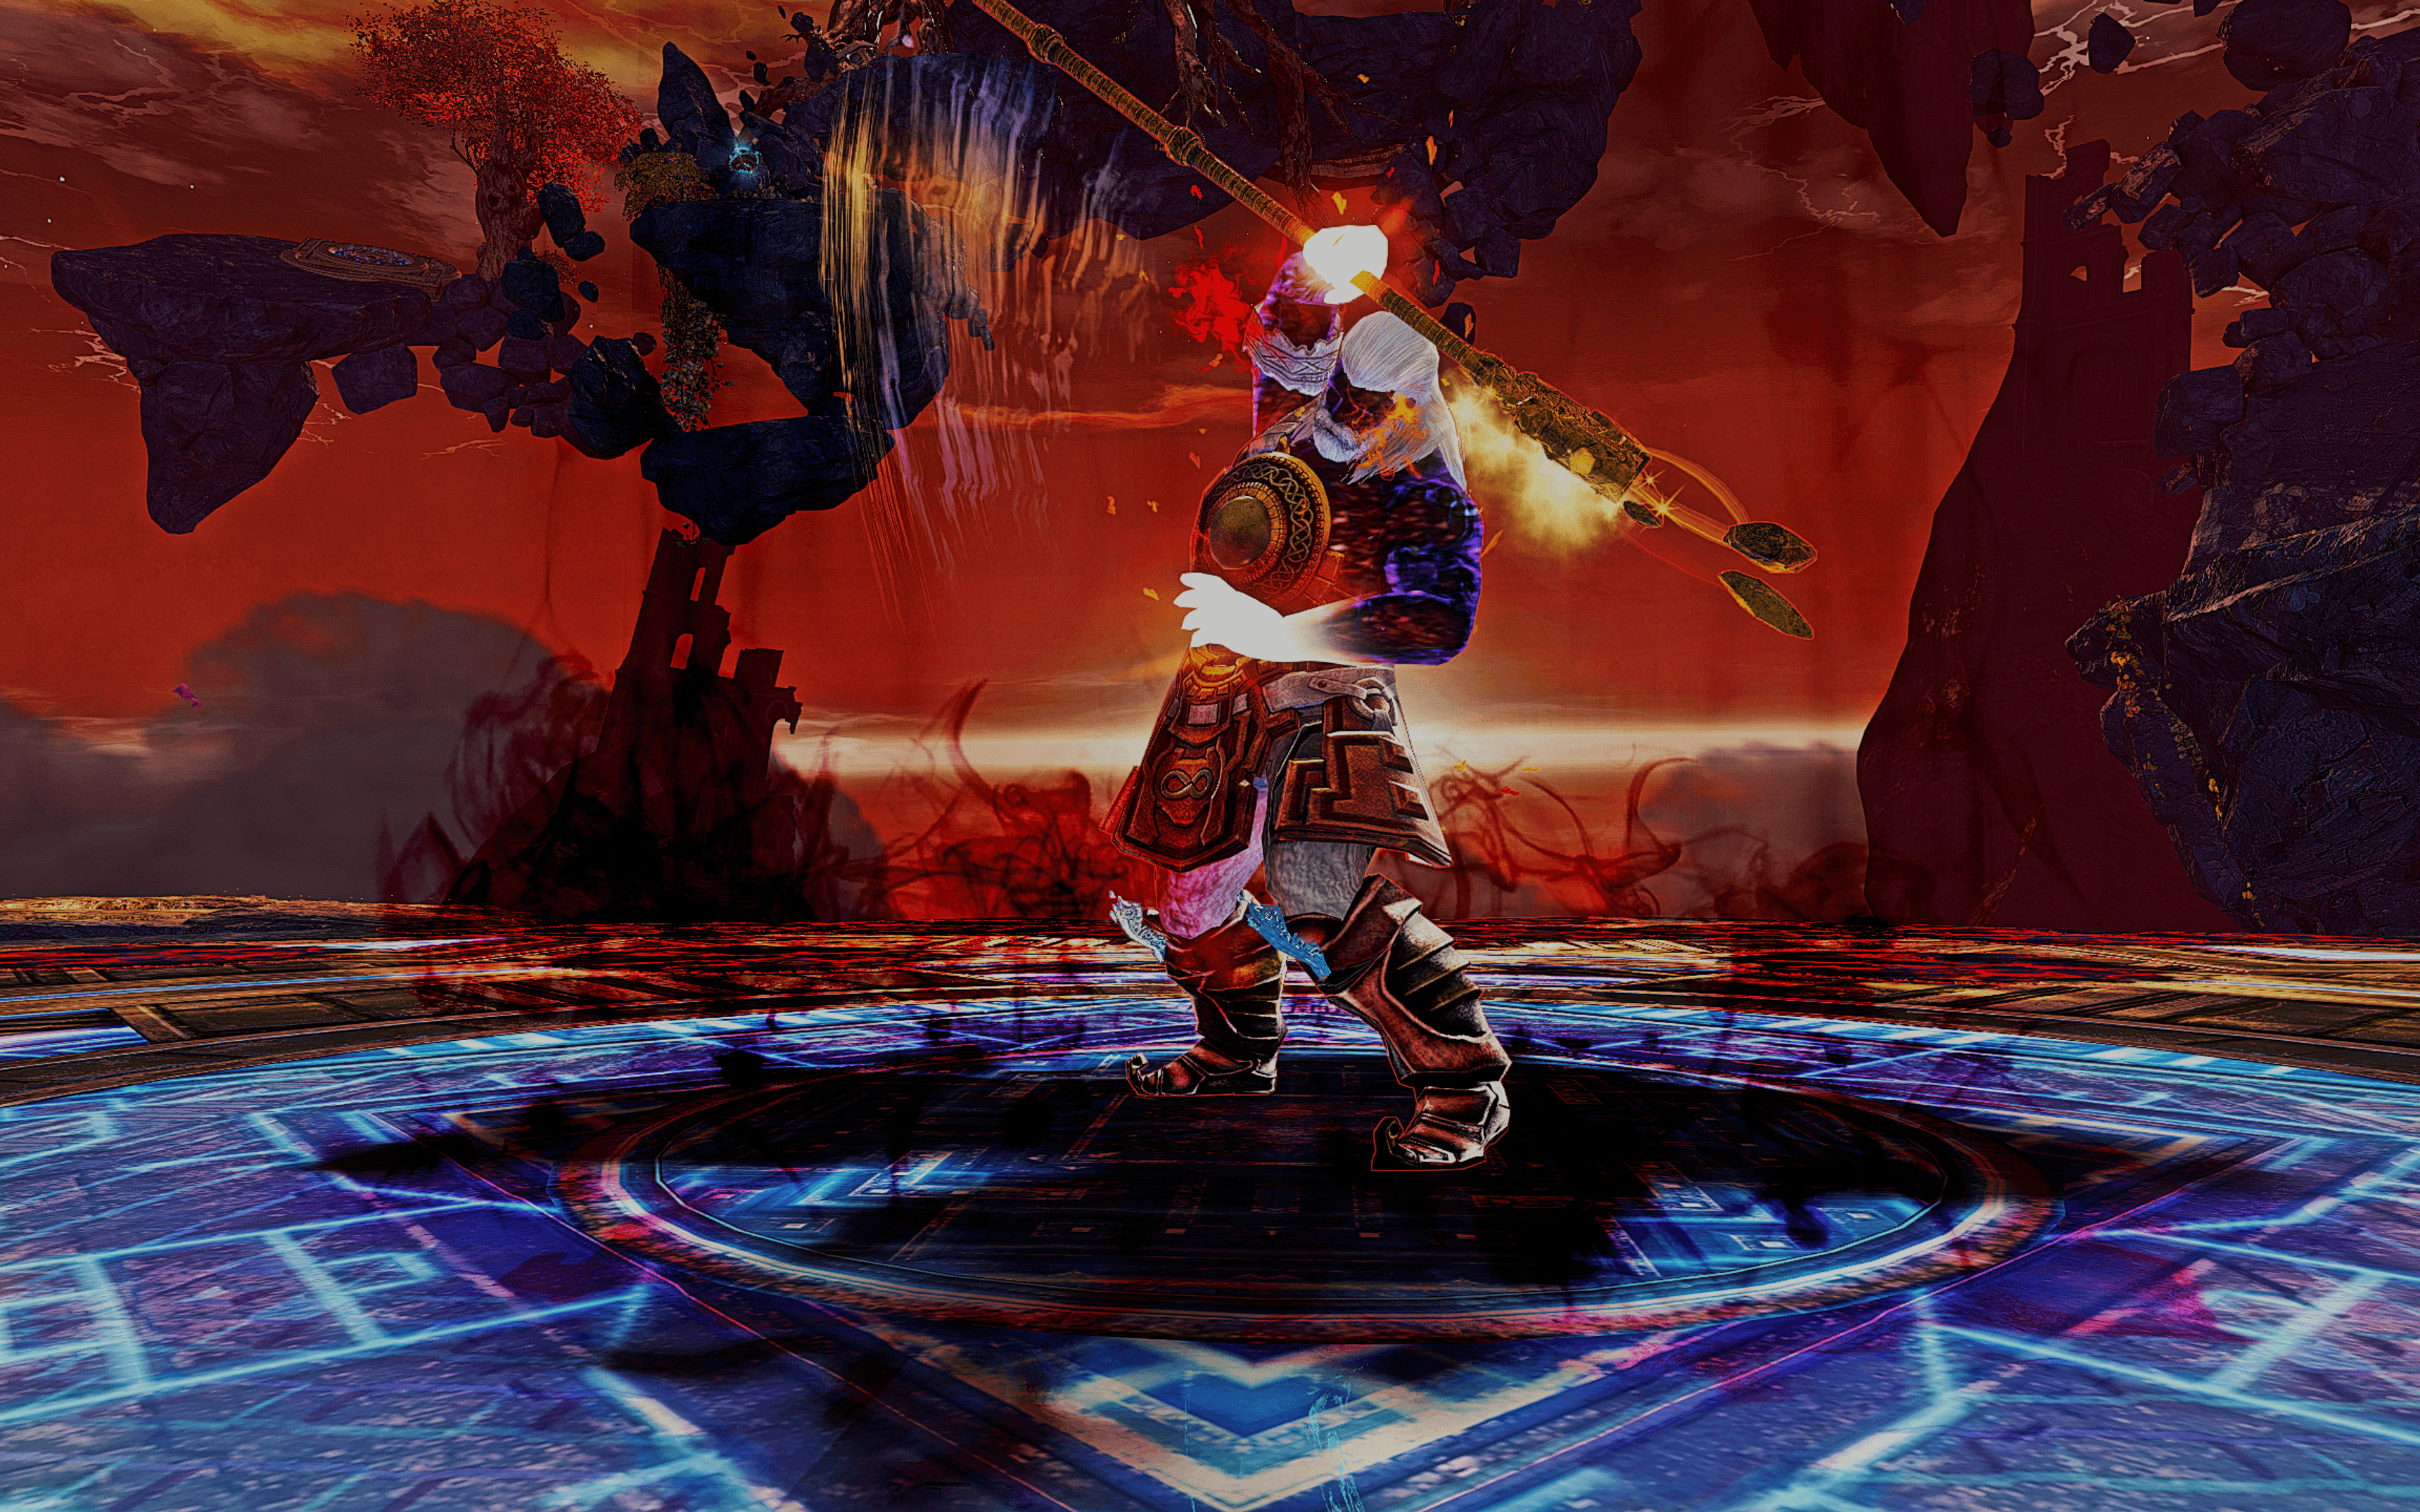
DPS Statistics by gw2wingman
Weapons
- Berserker2x
- Berserker1x
- Berserker1x
Skills
Heal
Utilities
Elite
Notes
- Skorvald has one of the biggest CC bars in CMs (2200). Make sure to use your CC skills!
Skill usage
Precast
- Precast Staff symbols on the orb that starts the encounter
- Precast , detonate them in a fire field
- Cast 4
- Take Mistlock Singularity
Phase 1
- Cast 4 before Skorvald starts
- if your group is really fast, keep Lich Form for the last phase
- (GS 5)
- (GS 4)
- Place both of your wells
- If Skorvald is still not broken:2) (Shroud 3)
- (Shroud 5) 6) (Shroud 4)
- Auto attack until Skorvald phases
Split Phase 1
- First Island
- (GS 4)
- (GS 3)
- (GS 2)
- Auto attack until add dies
- Second Island
- (Shroud 4) after add evades attacks
- Shroud auto attack until add dies
- (Shroud 2) into the updraft
- Third island
- (GS 3)
- (GS 2)
- Auto attack until add dies
- Fourth island
- (GS 3)
- (GS 2)
- Auto attack until add dies, take portal back
Phase 2
- (GS 5)
- (GS 4)
- Place both of your wells
- (Shroud 4)
- Weapon swap (if Skorvald is not phased)
- Continue attacking during his charges
- Use (Heal) after the third charge
- When breakbar is up: (Warhorn 4) to help with CC
- (GS 5)
- (GS 4)
- (Shroud 4)
- Shroud auto attack until Skorvald phases
Split Phase 2
- First Island
- (GS 4)
- (GS 3)
- (GS 2)
- Auto attack until add dies
- Second Island
- (Shroud 4) after add evades attacks
- Shroud auto attack until add dies
- (Shroud 2) into the updraft
- Third island
- (GS 3)
- (GS 2)
- Auto attack until add dies
- Fourth island
- (GS 2)
- Enter , auto until 15%, take portal back
Phase 3
- Cast 4
- (GS 5)
- (GS 4)
- Place both of your wells
- (Shroud 4)
- Shroud auto attack until Skorvald dies
ARTSARIIV 5,962,266 HP
DPS Statistics by gw2wingman
Weapons
- Berserker2x
- Berserker1x
- Berserker1x
Skills
Heal
Utilities
Elite
Notes
Skill usage
Precast
- Precast , detonate them in a fire field
- Precast / Mistfire Wolf, etc (if you have it)
- Take Mistlock Singularity
- Precast Staff symbols on the corner Artsariiv goes to or on the 2 elites at start
Phase 1
- Precast healing signet so it hits as she becomes vulnerable
- (GS 3)
- (GS 2)
- enter
- Special action key to Artsariiv
- cast Lich Form 4
- (GS4)
- Weapon Swap
- (Warhorn 4)
- Place both of your wells
- enter shroud
- If not broken: (Shroud 5) and (Shroud 3)
- (Shroud 4)
- Shroud Auto Attacks until she phases or you reach ~6k life force
- (GS 2)
- (GS 3)
- Auto Attacks
Split Phase 1
- Go to your marker/direction
- CC the add with (GS5), (Warhorn 4) and (Shroud 5)
Phase 2
- Before she becomes vulnerable:
- (Warhorn 5)
- (Heal)
- (Shroud 4)
- (Axe 2)
- Weapon swap
- (GS 2)
- Kill the anomaly, special action to Artsariiv
- Use both wells (hit the Elite add too)
- (GS 4) (hit the Elite add too)
- Shroud auto attack
- (Shroud 4)
- Shroud auto attack until ~6k Life Force
- If the boss isn't phased and health is 50% or lower:
- Spam (GS 2)
Split Phase 2
- Go to your marker/direction
- CC the adds
Phase 3
- (GS 2)
- kill the anomaly
- (GS 4) (hit the Elite add too)
- Place both of your wells (hit the Elite add too)
- (Shroud 4)
- Shroud auto attack until no life force left
- (Shroud 4) if it gets off cooldown
- Spam (GS 2)
ARKK 9,942,250 HP
DPS Statistics by gw2wingman
Weapons
- Berserker2x
- Berserker1x
- Berserker1x
Skills
Heal
Utilities
Elite
Notes
- Place markers for the blooms
Skill usage
Precast
- Precast Staff symbols on the orb that starts the encounter
- Precast , detonate them in a fire field
- Blast Might with Hypernova Launch
- Cast 4
- Take Mistlock Singularity
- Cast 4 again
Phase 1
- (GS 4)
- (GS 4)
- Place both of your wells
- (Shroud 4)
- Shroud auto attack until Arkk phases or
- you are at ~6k Life force
- Use (GS 2)
- (GS 3)
- Weapon swap
- if Arkk is still not phased (Axe 2)
- Position yourself so that you can push the solar bloom with axe auto attacks into the pillar
Phase 2
- Before Arkk becomes vulnerable:
- (Warhorn 5)
- (Heal)
- (Warhorn 4) to help with CC
- Hypernova Launch on Arkk to help with CC
- (GS 4)
- Place both of your wells (if your group is relatively fast, do not place wells here)
- (Shroud 4)
- Shroud auto attack until Arkk phases
Add Phase 1
- Pull an add with (GS 5)
- (GS 3)
- Auto attack until Arch Diviner is 50%
- Spam (GS 2)
- Hypernova Launch on the Elite to help with CC
Phase 3
- (GS 2)
- (GS 3)
- (GS4)
- Place both of your wells
- (Shroud 4)
- Shroud auto attacks until Arkk phases or you reach ~6k life force
- Use (GS 2)
- (GS 3)
- Weapon swap
- (Axe 2)
- Position yourself so that you can push the solar bloom with axe auto attacks into the pillar
Phase 4
- Before Arkk becomes vulnerable:
- (Warhorn 5)
- (Heal)
- (Warhorn 4) to help with CC
- Hypernova Launch on Arkk to help with CC
- (GS 4)
- Place both of your wells (if your group is relatively fast, do not place wells here)
- (Shroud 4)
- Shroud auto attack until Arkk phases
Add Phase 2
- Pull a golem (preferably the blue one so it doesn't knock you back) with (GS 5)
- (GS 3)
- Auto attack until Gladiator is 50%
- Spam (GS 2)
- Hypernova Launch on the Elite to help with CC
Phase 5
- (GS 3)
- (GS 2)
- (GS4)
- Place both of your wells
- (Shroud 4)
- Shroud auto attacks until Arkk phases or
- Use (GS 2)
- Weapon swap
- (Axe 2)
- Position yourself so that you can push the solar bloom with axe auto attacks into the pillar
Phase 6
- If you have off cooldown, use 4 after you have pushed your solar bloom into the pillar
- Before Skorvald becomes vulnerable:
- (Warhorn 5)
- (Heal)
- help with CC
- (Warhorn 4) to help with CC
- Hypernova Launch on Arkk to help with CC
- (GS 5)
- (GS 4)
- Place both of your wells7 (Shroud 4)8 Shroud auto attack until Arkk dead9 If not dead spam (GS 2)
Annotation:
- If possible make sure you use Hypernova Launch to CC the adds
- First add spawn AoE's that strips boons, make sure you avoid them