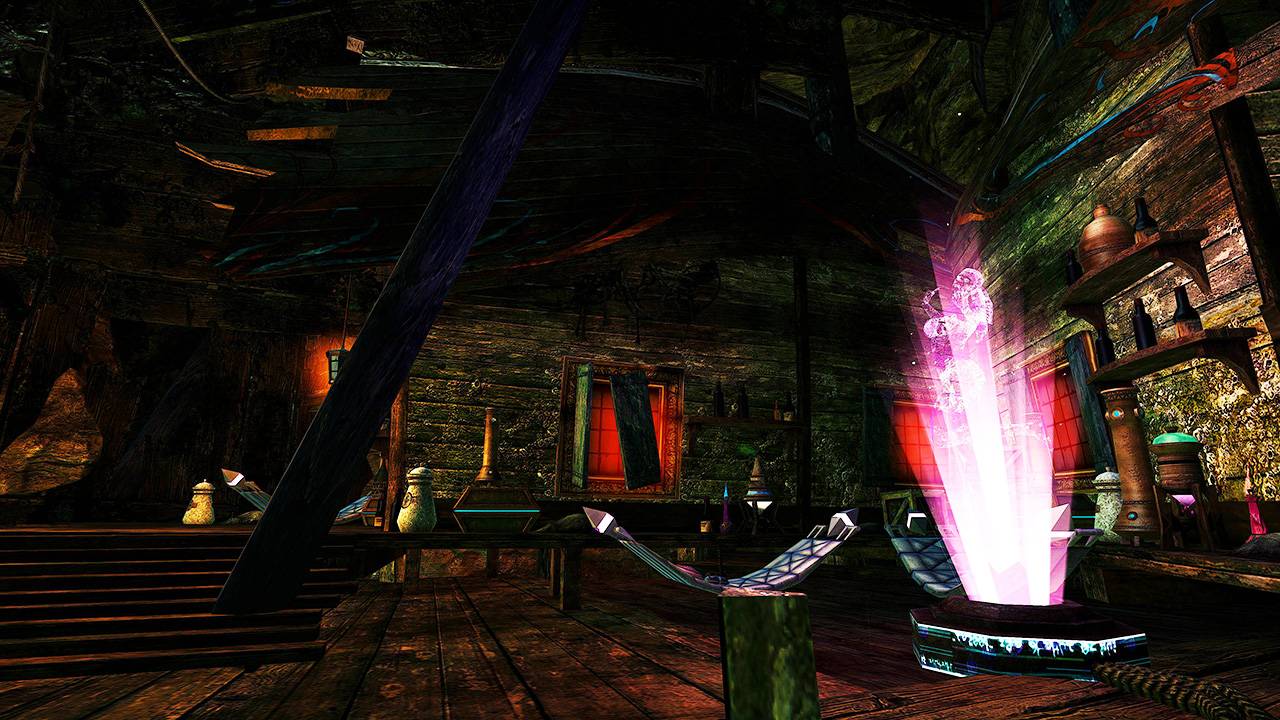
Aetherblade
t4 Fractal
English
- August 28, 2023
Overview
| Current Record | 0 min 53 sec | by Discretize [dT] |
|---|
| Difficulties |
|
|---|---|
| Cycle | Day |
| Potions | |
| Sigils |
Start (water tunnel)
You can stack Stealth before entering the water to avoid that the mines explode. Clear the group of Elite Aetherblades to open the door.
Lasers
After the door opens, you enter a large area with two deadly laser puzzles.
The first one consists of a moving laser square pattern and can be disabled by activating four consoles inside a small room at the end of it. Pressing a console applies Immobile to you.
The second area is filled with spinning lasers. In exactly the same way as before, four consoles around the area have to be activated to disable the traps.
You don't need to kill a single mob and can bypass all traps with the following steps:
- One person (or more) teleports up to the first level and activates all four consoles using condition cleanses
- Everyone does
/ggand resurrects immediately (you will spawn on the ramp up after the first console room) - The team splits up to activate the second set of consoles (the spinning lasers won't be active if you're fast enough)
Speed is important here. Do not hesitate to
/gg if you are certain the first console will be completed.First puzzle skipClick to play!
Jump on the rocks to the right of the entrance, use or any other non-targetable skill to hit the Inquest and lure him down from the higher level. Target the Inquest and use to reach the platform and go to the console room. Give yourself Resistance with () and disable the consoles.
First puzzle skipClick to play!
Teleport up to the first level with and cast to periodically clear Immobile while activating the four consoles. Attune to x/ for additional condition clear with . Revenant can help giving Resistance with ().
First puzzle skipClick to play!
Use upon the platform, then teleport to it with . Equip conditions cleanses such as or and clear the consoles. TheRevenant can help giving Resistance with ().
First puzzle skipClick to play!
You can solo both the first and second room if you are fast enough. Use or to teleport and or as condition clears. Revenant can help giving Resistance with ().
Use to teleport to the platform. Clear conditions with skills such as or . Revenant can help giving Resistance with ().
Holo-Hornpipe
Dance with the Aetherblade hologram dancers by simply typing
/dance near the two hologram dancers in the lasers room.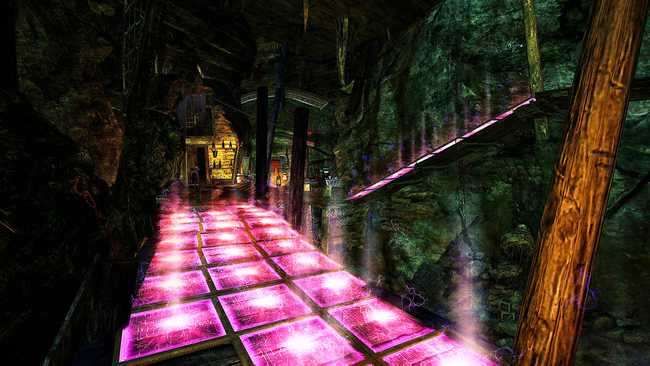
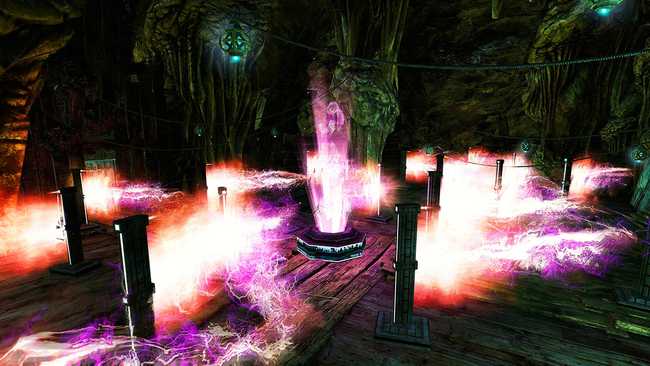
Breach the gate
Kill the spawning enemies to fill the progress bar and open the gate. Avoid the dazing cannon shots and switch back your skills & traits if needed.
Final room (Frizz)
Talk to Inspector Ellen Kiel to teleport your party into the final room. Stack Might as soon as you are in.
Initially, Frizz and two Inquest approach. Talk to Frizz to begin the fight. As soon as Frizz reaches 75%, he teleports to the middle and becomes invulnerable.
After about five seconds, the first Aetherblade Golem wakes up and two Small Lasers start spinning, splitting the room in two. You can avoid the small lasers by jumping on the pile of boxes around the arena.
When the first golem dies, the two Small Lasers disappear and two Aetherblade Golem wake up. Large Lasers start spinning which you can only bypass entirely with Invulnerability.
As soon as the two golem are dead, the two Small Lasers and the two Large Lasers spin simultaneously and two final golem wake up. Kill the last golem to finish the fight.
If a golem walks through a laser, it powers up and blocks all attacks for a short time. Pay attention to their Pull attack, though it should not be a problem with high damage.
Still Faster Than Light
Don't get hit by the lasers! The hardest part is when all lasers are up, rotating at different speeds.
Aetherblade Retreat Stabilizer
You've completed the Aetherblade fractal inside the Fractals of the Mists.
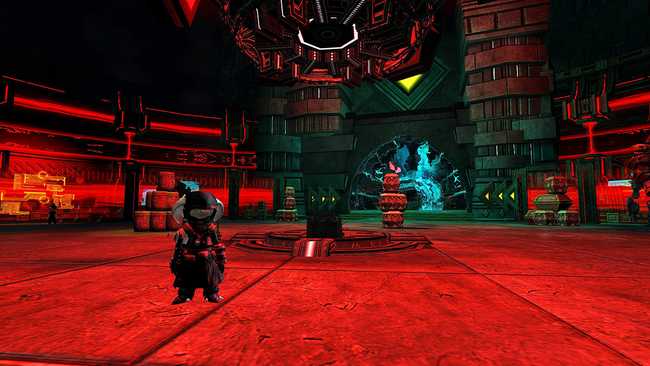
Drop your banners in the very center of the arena. Using against the wall is very effective.
Run an off-hand axe and use to pull golems closer.
Use against the golems next to a wall or box.
