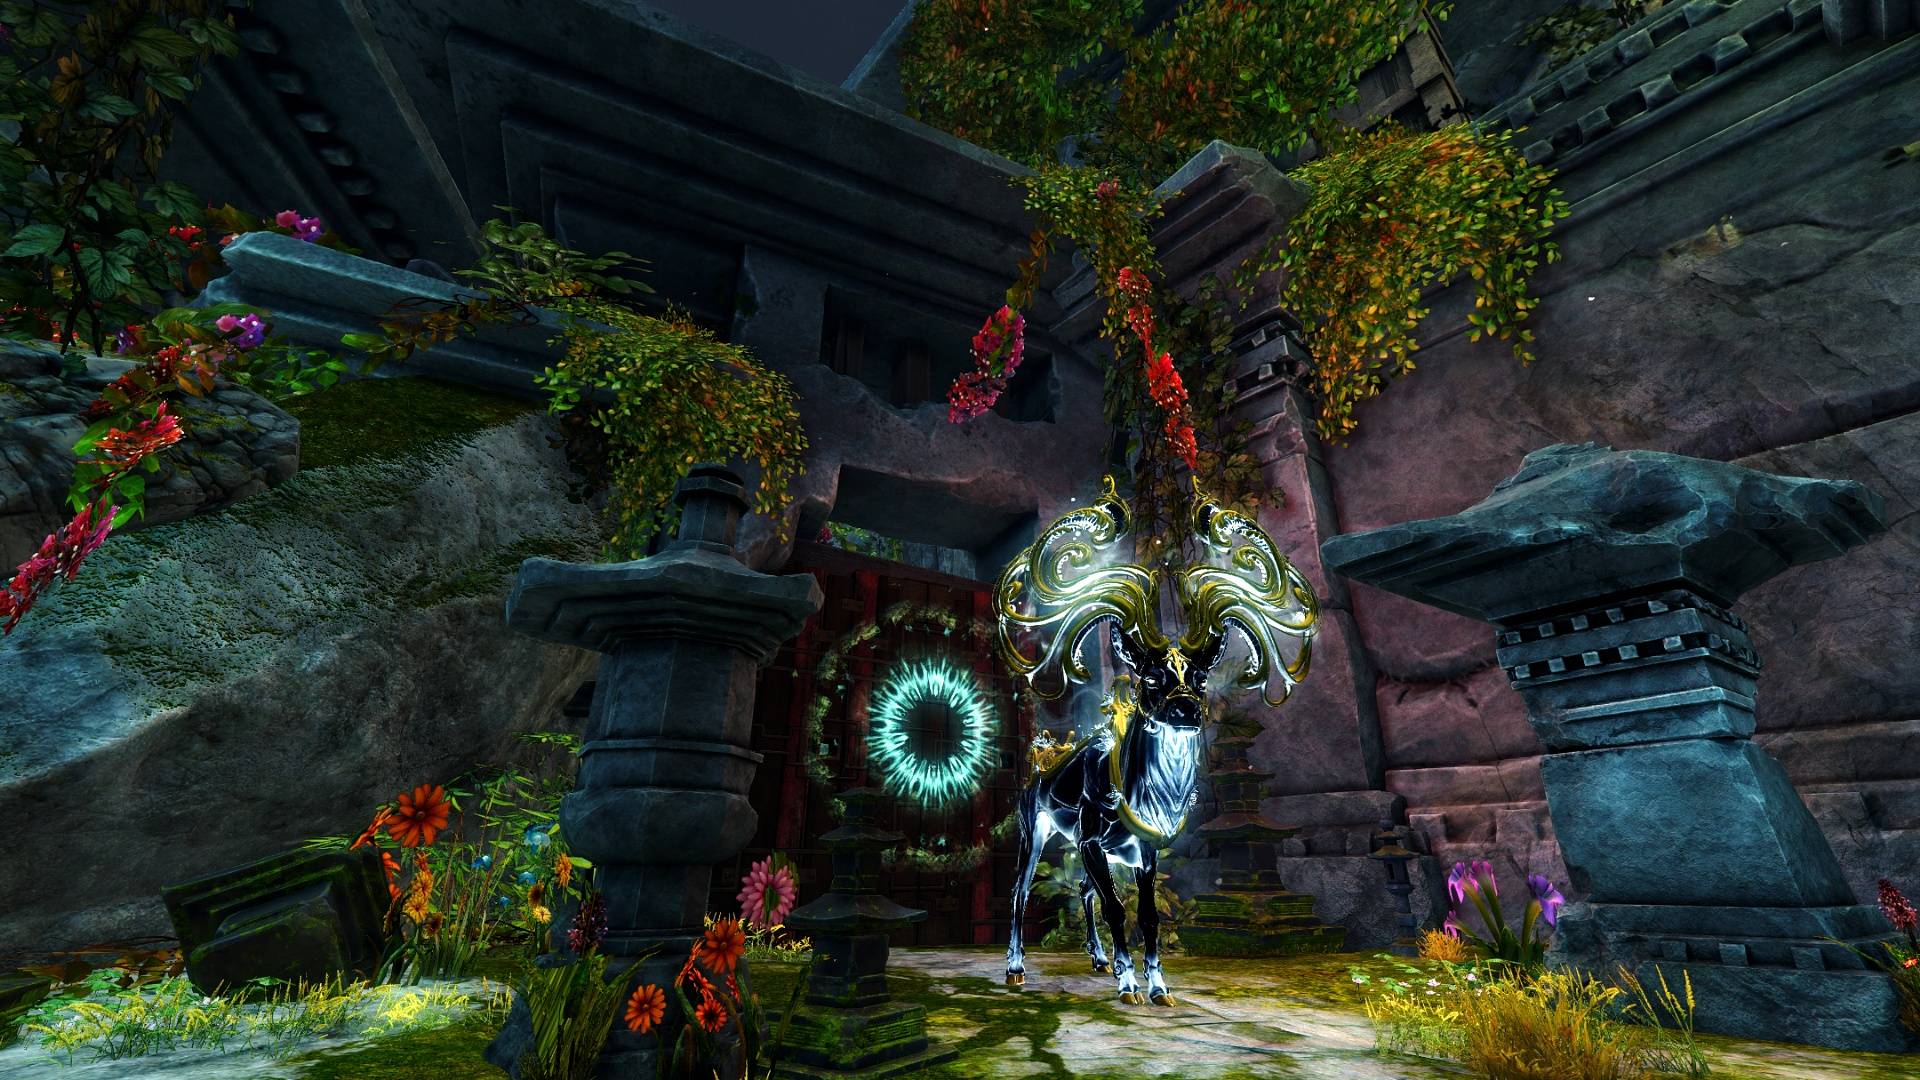
Sunqua Peak
Challenge Mode Fractal
English
- August 7, 2023
Overview
| Current Record | 5 min 48 sec | by Discretize [dT] |
|---|
| Difficulties |
|
|---|---|
| Cycle | Day (non CM) / Night (CM) |
| Sigils | |
| Consumables |
The Sunqua Peak fractal is different from previously released fractals: After doing all the achievements a Challenge Mote is unlocked which opens a portal to the last boss in Challenge Mode. The bosses in normal mode are supposed to teach the mechanics of the endboss.
First jumping puzzle
Killing elementals spawn lightning strikes that periodically leave behind an orb-like item. Upon collection, it grants the temporary buff Charged Leap that enhances the jumping height. Since it stacks up to 3 times, it is recommended to collect 2-3 to ease the jumping part. After approaching the platform with the Mistlock Singularity, jump over to the boss via the updraft to set a checkpoint for possibly left behind teammates.
/gg and pre-stack boons like Might, Quickness and Alacrity on the Mistlock Singularity.Voice of the mountain
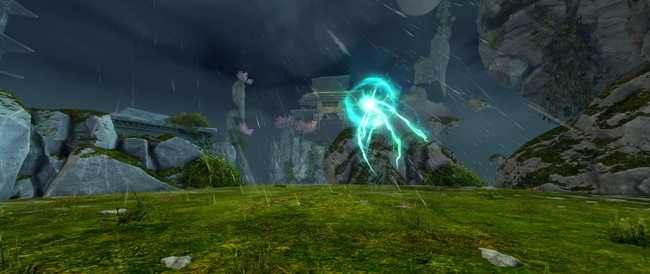
The Voice of the mountain is the first boss in the fractal. This boss deals little damage, however, its basic attack will knock you back, stay in max melee range to avoid that. Every 33%, the boss gets Invulnerability and summons a tornado, tethered to 4 clouds. Lightning strikes appear shortly after and leave the same collectable orbs as before. You must collect 3 and jump into the clouds to disperse them, using the Charged Leap buff. Players are also targeted by , red AoEs that deal heavy damage and apply Vulnerability and Weakness. Keep moving to avoid their damage.
Water Path to the next boss
Not a single trash mob needs to be killed for progression!
After the Voice of the mountain is dead, take the updraft and follow the path. In order to trigger the next boss, you have to interact with three Frightened Water Elementals found along the path. Right after taking the updraft, there are waterfalls that periodically push you down the cliff. Stability is ineffective. Wait until you see the water particles disappearing before walking through the waterfalls or use blinks.
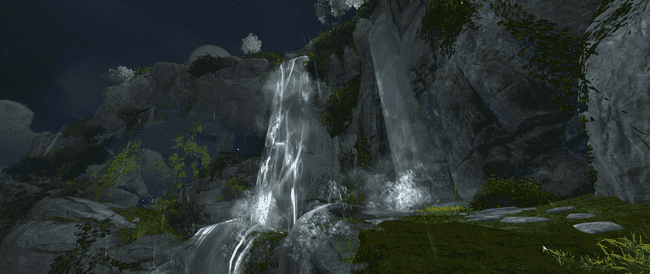
However, the waterfalls have two states, active and inactive. When inactive, they will not push you over the edge. An easy way to tell which state they are in is if the water flow is more intense with more white streaks running through it or not. When the effects expire and the flow slows down, it's safe to simply walk through it. Alternatively, you can also try and dodge through the intense flow or use or a movement skill to quickly get past. The second waterfall can be easily skipped by walking behind it.
Do the mini jumping puzzle to the 2nd boss, remember to talk to the elementals. As soon as you have interacted with all 3,
/gg so your team can catch up with the front runner.Big stone of the mountain
The second boss of the fractal is a big pile of rocks. Avoid the orange AoEs that appear by dodging or by using Aegis. Whoever is closest to the dark orb on the side of the arena gets tethered to it and receives the debuff Tidal Bargain that increases over time. Upon reaching 10 stacks, the tethered player will go down or their mistlock will be removed. To avoid this, another player should take the tether by running inside the beam, between the orb and the tethered player, and stay there for at least a second.
Path to the next boss
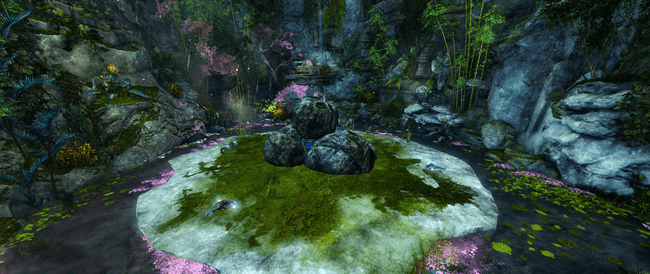
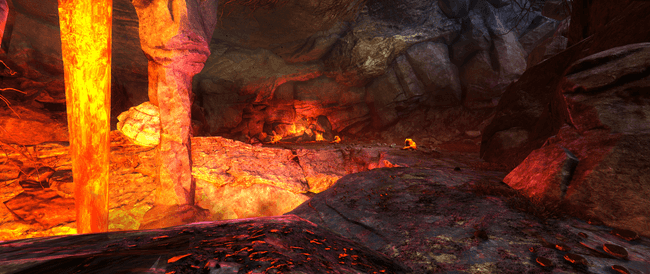
There are stone piles blocking the way. Kill the lava elementals before each pile to progress along the path. Use Pulls and burst them down quickly.
Fury of the mountain
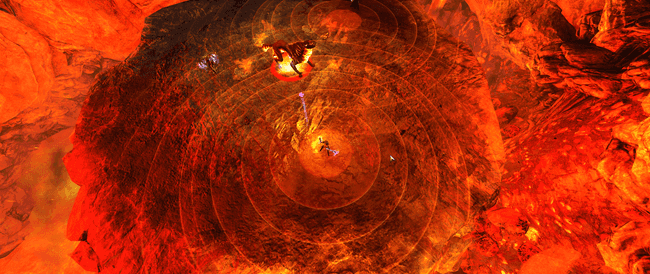
The third boss of the fractal is the Fury of the mountain. Every 33% it gets Invulnerability and spawns two AoEs with intensity circles that drop meteors from the sky, leaving rocks behind.
At 66%, the meteors fall in set positions, while at 33%, two random players are each targeted by a meteor. Standing inside the circle inflicts Burning and deals damage that scales with your distance to the epicenter of the impact. The yellow shockwave does not deal any physical damage but applies more Burning.
After the shockwaves disappear, the boss charges for a big attack that knocks you down into the lava. Seek shelter behind the rocks.
Kill the boss and move on to the final encounter of this fractal.
Sorrowful Spellcaster
15,000,000 HPThis section explains CM and non-CM. The first part is for both the same, except that the Sorrowful Spellcaster has more HP and hits harder on CM. Mechanically it is the same.
When you break Ai's breakbar she gets a buff on her bar preventing a new breakbar from spawning for 30 seconds. The breakbar has an insane size of 3200 making it hard to break. It is recommended to bring all the CC skills your class provides.
Part 1: Normal Form
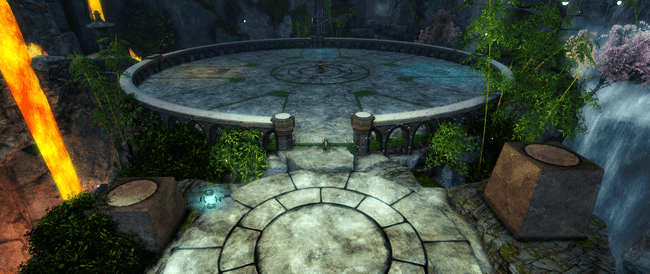
DayThe Sorrowful Spellcaster is the fourth and final boss of the fractal. Unlike other fractal CM encounters, pre-booning does not work, because once you cross the green circle around the boss all boons will get removed. However, you can still precast unique buffs like or .
The boss has multiple phases themed around the different elements air, fire, water. The previously introduced mechanics are reoccurring.
Air Phase
100%-66%After crossing the green line, the fight starts. After about one second, Ai dashes to a randomly chosen side and casts a set of line attacks. During this time, a CC bar appears which should not be broken (you can CC Ai in the middle, you get no orange AoEs, means more DPS for not spreading out due to the circle mechanic). After the line attacks, she will dash to the middle and target each player with an orange AoE, forcing the group to split up to minimize damage taken (only if you break Ai's first CC bar, or don't break Ai's 2nd CC bar in the middle). When the circles disappear, group up (avoiding any subsequent lines or explosions) and start bursting. If you have not broken the 1st CC bar, a second will appear, as Ai starts casting a series of cone attacks.
Collect orbs to jump in white circles
Breaking the bar at the last second is key for maximum DPS. To do this, you need to remember the pattern of upcoming attacks when the CC bar is active. That pattern is 2 cones, multihit circles (that must be dodged), another cone and finally, a red AoE that deals massive damage and forces the group to split. Break the bar when the red circle appears and stay in the middle, upkeeping DPS.
If you do not manage to bring her to 66%, she will dash twice and get Invulnerability, summoning a tornado, like the Voice of the Mountain. Approach this phase as you did before, only this time, you must disperse 8 clouds quickly, or Ai will cast a massive AoE that wipes the group. Keep in mind that a set of 3 Charged Leap orbs spawn in each cardinal direction. Split up accordingly and move in the same direction to interrupt this attack as quickly as possible.
Fire Phase
66%-33%Dodge the Meteor AoE
After bringing the boss down to 66%, she gets Invulnerability and spawns meteor impact AoEs. Outrun them like a turtle. After the third set of impacts the boss reappears. Be aware, there is a fourth set of 4 meteor impacts in a square formation around the boss. Dodge them! Two players are also targeted by meteor AoEs that fall shortly after the final 4. They should be placed outside of the stack (in a non-static team), or just ignore them by dodging at the right time (in a coordinated team).
After all, meteors have fallen, an AoE around the boss starts to expand, launching a powerful attack that downs/strips mistlock from anyone caught in the blast. Seek shelter behind a rock (this is the same pattern as in the Fury of the Mountain encounter). Be aware, there will only be one rock in Challenge Mode. The ''fake'' rocks are ones that glow red before crumbling. The safe rock is always the southwest one on the minimap.
After the meteor attack, the pattern from the Air Phase repeats. If you do not manage to bring her to 33% in the middle, she will dash twice and instead of the tornado attack, she will summon additional meteors.
Water Phase
33%-1%After bringing the boss down to 33%, she gets Invulnerability and pushes the group to the edge. After a short while, dark orbs appear on set intervals that tether to players. The player closest to the orb gets tethered and receives the debuff Tidal Bargain. You can take over the Tidal Bargain by standing in-between the tethered person and the orb. Players are also targeted by green AoEs, stay stacked to share the damage taken.
After the 4th orb disappears, the boss dashes to the side and repeats the same pattern as before, only this time she starts casting a more powerful version of the previous line attacks, summoning water tornados that deal heavy damage. Be very careful and avoid them.
Tethers during the water phase
If you do not manage to bring her to 1% in the middle, she will dash twice and instead of the meteor attack, she will cast a water tornado, reflecting all projectiles and pulling players in. Standing in this tornado deals damage and applies agony every second. She also casts line attacks that deal damage but can be avoided by standing out of the way. Keep in mind that she is still vulnerable, but she takes reduced damage. Previous mechanics like the Tidal Bargain orbs and green AoEs are present during this attack.
Part 2: Laser disco
NightAfter a long roleplay, Ai transforms into her demon form and the whole arena gets darker. This part of the phase does not have distinct phases like the first one but instead has checkpoints at 66% and 33% that when passed add new mechanics to the fight.
Pre-Sorrow100%-66%
Be aware that every time a person dies, a Doubt spawns. It behaves like a Vindicator from Mistlock Instability: Fractal Vindicators. Don't forget to assign 2 people for CCing Sorrow at 66% and a third person to CC the 2 Sorrows near Guilt for maximum efficiency!
Avoid getting hit by the lasor attack pattern
After recovering from being tethered by her Doubt the boss will initially dash in a random direction into the wall and start her attack pattern. Be careful to not stand in her dash path or to simply dodge through it as it deals heavy damage. Upon hitting the wall lasers will start to spawn in a set attack pattern that will be consistent throughout the fight this is also when the first breakbar appears which lasts 7 seconds. The hitboxes of the lasers are quite thin and it is, therefore, possible to stand in-between two lasers and not get hit.
After 5 waves of lasers, Ai will dash again in a random direction towards a wall. This is when the first split-phase will occur, a bunch of heavy ticking damage AoE's will spawn around the boss as well as very large expanding circles around each player. Make sure to spread out to avoid heavy damage. She will then do a series of basic attacks before finally doing another split phase with a slightly different AoE pattern on the floor (this is the same basic attack pattern as the one in all previous phases, mentioned in the air phase).
She will keep dashing around the arena and mixing and matching her abilities described above until she dashes to the middle of the arena. The only difference with being in the middle of the arena is that during the split phase, instead of pulsing AoE's, lasers appear that will converge once the player specific AoE's explode. Be careful when walking back into the boss as these lasers will converge on her in two waves and deal heavy damage.
From this point onward the boss will mostly stay in the center of the arena, dashing out only to instantly dash back in, or only staying on the wall for the 5 waves of laser attacks.
Sorrow 66%-33%
Any AoE's on the floor prior to her hitting 66% will still last the full duration so be careful when walking back to the center
Upon hitting 66% the boss will stop any current animation and fizzle any current attack and dash towards the center of the arena. She will then instantly start channeling and pulsing out AoE's in a set ring pattern. Where the first ring is close, the second is in the middle and the third is far from the boss. However, no AoEs will spawn directly next to the boss so staying in melee range is safe. There are also small safe zones between the AoEs.
CCing the Sorrow
At the same time a Sorrow will spawn, this mob will spawn at a random position inside the middle ring of AoE's a few seconds after the boss begins channeling. You can tell where the Sorrow will spawn a few seconds before it actually does thanks to a small area of the arena lighting up at its eventual spawn location. The Sorrow will start channeling a devastating attack that will instantly down the whole party if it completes channeling. To prevent this the Sorrow must be killed or its breakbar must be broken.
Ranged CC such as or is preferable as you get to stay inside the safe zone near the boss.
At the same time as the Sorrow spawns, 5 Fears will spawn on the perimeter of the arena and slowly start tracking the players and moving towards them. Getting touched by a Fear will knock you down for a long period of time and apply moderate damage. 15 seconds after spawning the fears will explode dealing heavy AoE damage. Simply walk away from them and you will stay safe.
From this point onwards the fight is exactly as before, with the added mechanic that after each second split-phase the boss will dash to a wall, instantly dash back and start her long channel that spawns a Sorrow.
Guilt 33%-1%
As before upon hitting 33% the boss will stop any current animation and fizzle any current attack and dash towards the center of the arena and start channeling.
This part of the boss fight is exactly the same as the Sorrow part with one variation. Instead of spawning a Sorrow, a Guilt will spawn. This Guilt will tether to a player and start applying stacks, this tether can be treated similarly to the tether seen in the water phase of Ai's normal form.
A few seconds after the Guilt spawns two Sorrows will spawn in addition, one on each side of the guilt. Both Sorrows need to be broken to ensure survival. From this point onward mechanics will constantly repeat until the boss is defeated.
